(pssst…if you’re just here for the packing list, click here to bypass the yap sesh)
The town I grew up in has an official altitude of 13 feet. The university I attended rests at a whopping 148 feet, on average. I hardly knew what the mountains were for the first many years of my life–I just knew that I had to end up there, for better or for worse.
I started on the East Coast, close to home, and worked through day hikes in the Green Mountains, the White Mountains, and the Blue Ridge Mountains. I added more and more outdoors courses and certifications to my life as I became increasingly obsessed, learning how to treat hypothermia, reset a broken leg in the backcountry, and lead rock climbing trips.
This June, I put my skills to the truest test yet and hiked my first 14er–an adventure I never thought I’d get the chance to have. After a few weeks of last-minute training a well-before-dawn alpine start, my partner Tomo and I made it to the summit of Huron Peak.
Here’s the important thing: even though this was a difficult adventure, it was still infinitely more fun than it was hard. That’s what good preparation can do for you.
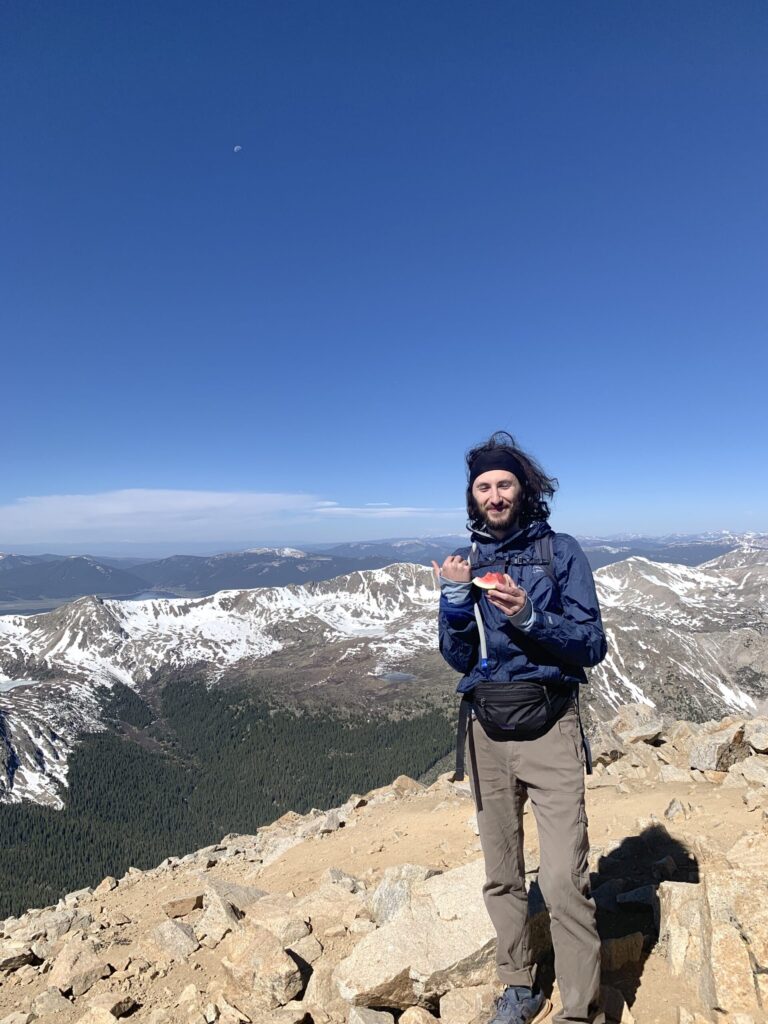
Tomo, the moon, and a slice of watermelon from a stranger
I know I’m not the only mountain dreamer who grew up in the flatlands with few mentors that reminded me of myself. That’s why I’m here: to make your path a little clearer by sharing everything I’ve learned that got me to this point.
To my knowledge, here’s everything you should do before hiking your first 14er to make it as achievable as possible.
**All of the information I’ve gathered for this article that isn’t backed up with a direct citation has come from my training as an Outdoor Action leader at my university, my AMGA training and certification, personal experience in the mountains, or my highly skilled and trusted friends. I am not an alpine guide and I am not being paid–just a fairly wise fellow who’s here to help as much as I can. I hope you find something useful in these pages.**
Acclimate to the altitude
Altitude is no joke. Even 5,000 feet of elevation can make your whole body feel funny, especially if you’ve spent most of your life near sea level. 8,000 feet of elevation can present a genuine safety hazard. Why is that?
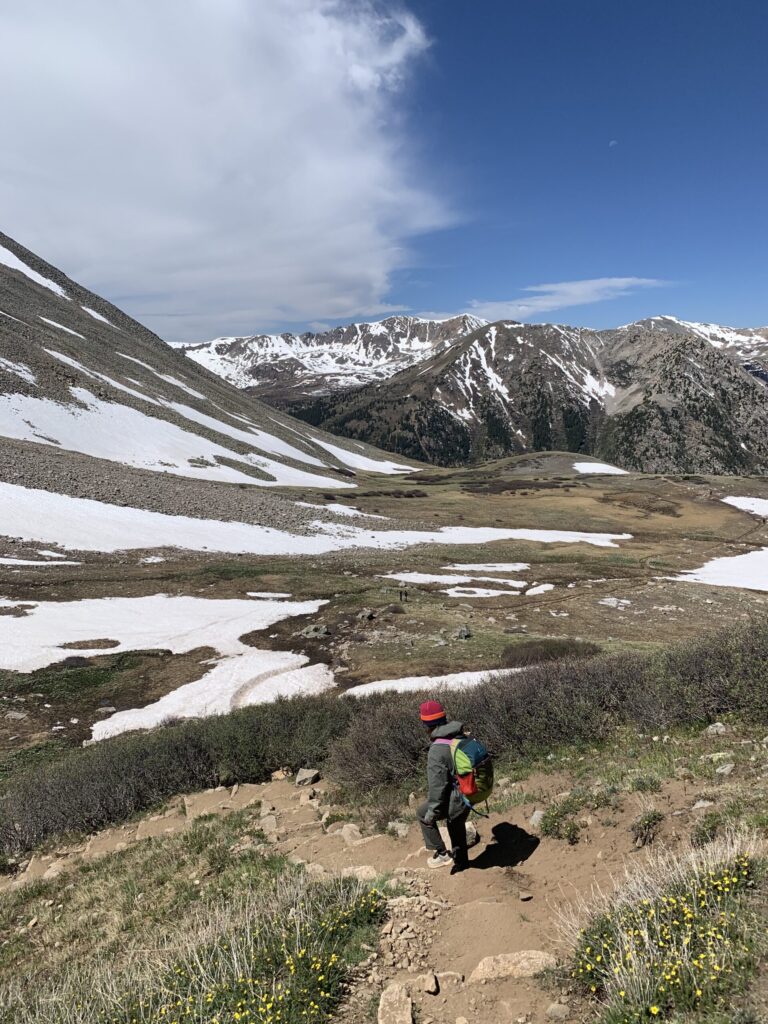
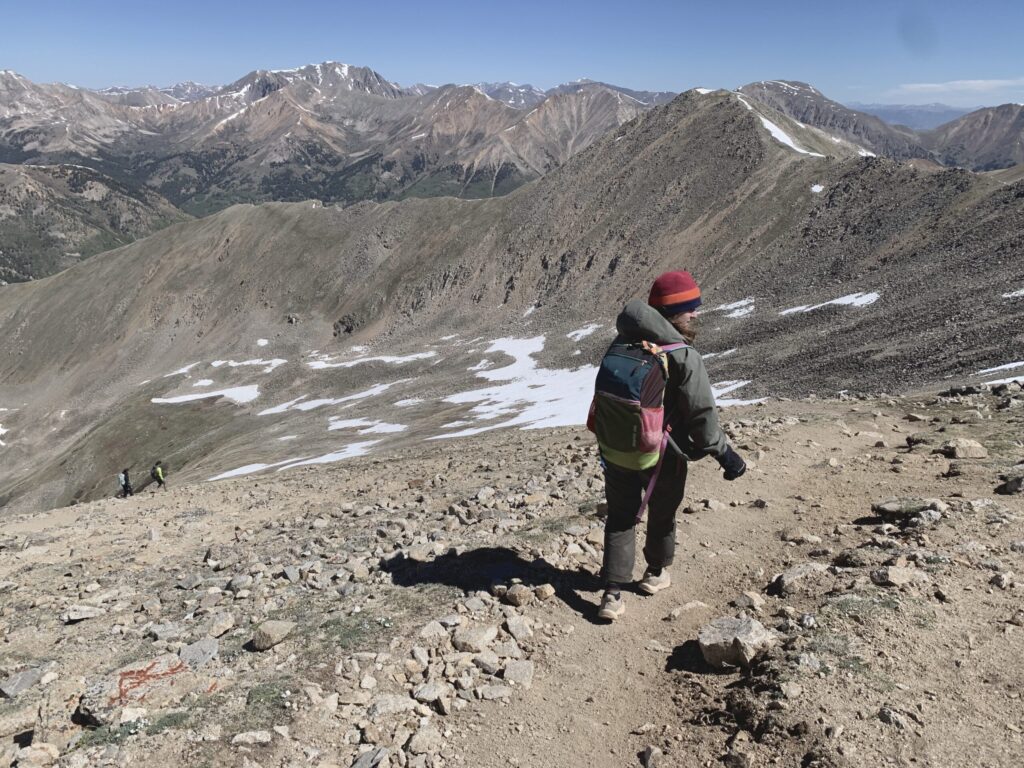
Descending from the summit of Huron Peak
Long story short, as altitude increases, barometric pressure decreases. With less atmospheric pressure to squeeze oxygen molecules conveniently together, the molecules spread out, meaning that you inhale less of them per breath. This phenomenon can have all sorts of negative effects on your body, ranging from mildly annoying to mortally perilous.
The acclimation process is more dramatic than you might think. When you spend time at altitude, you don’t just “get used to it.” Your body actually creates more red blood cells from scratch to circulate oxygen more effectively, among other profound physiological changes. That’s why scheduling in time to acclimate is so critical. You have to give your body the time and grace it needs to physically adapt so that it can keep you safe in the thinner air.
Here’s how one goes about doing that.
I learned much of what I know about AMS (Acute Mountain Sickness) from Outdoor Action training at my university in 2022, and I refreshed my memory using this wonderful resource from the director of our program. The paper includes a list of the actual physiological changes your body goes through when acclimating, too, so take a look at that if you’re interested. It’s neat.
Spend time at your “base camp”
This is the strategy that you hear about the most. Taking a plane from New Jersey to Alaska and attempting Denali twelve hours later is a surefire way to get seriously ill. Instead of getting after it right away, plan some time to hang out at an intermediate elevation. It takes your body between one and three days to undergo many of these acclimation changes. Before summitting a 14er, make sure you spend at least that long at the base of your mountain, either camping or in a nearby town.
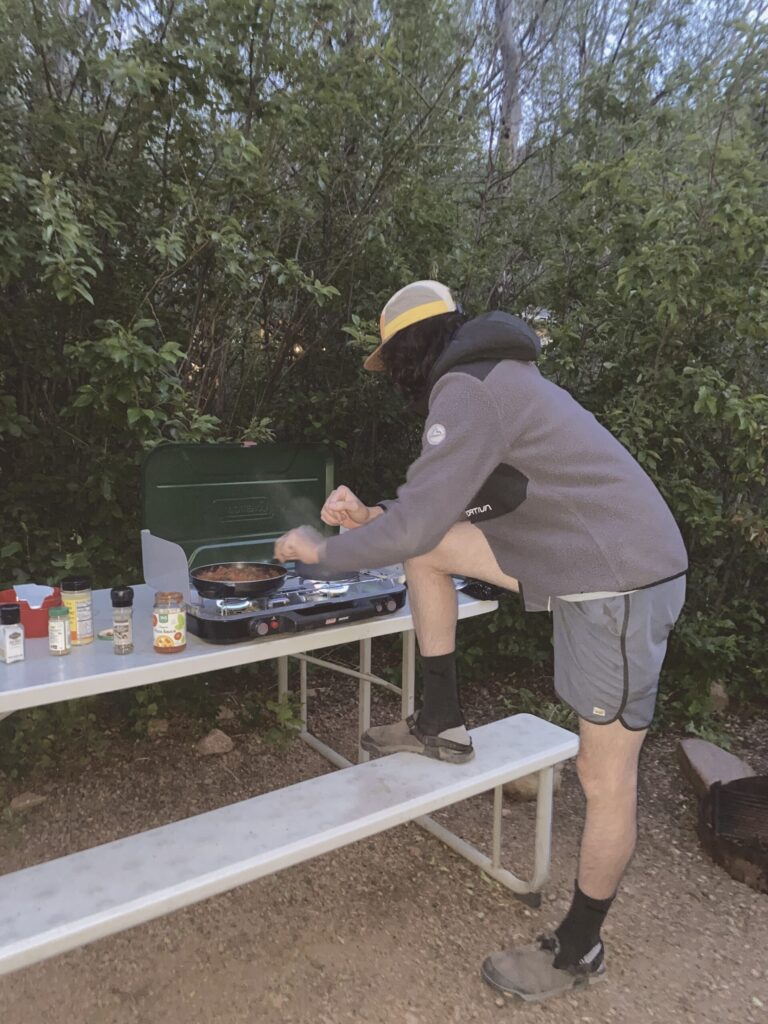
Cheffing up our first Colorado dinner. Remember that food takes longer to cook at elevation!
Tomo and I spent a few days in Colorado Springs before hiking Ormes Peak, a 9000 footer, and a few more days in Buena Vista before summiting Huron Peak. Both of these hikes would have been a lot more difficult (and dangerous) if we zipped straight from Kentucky to the summit.
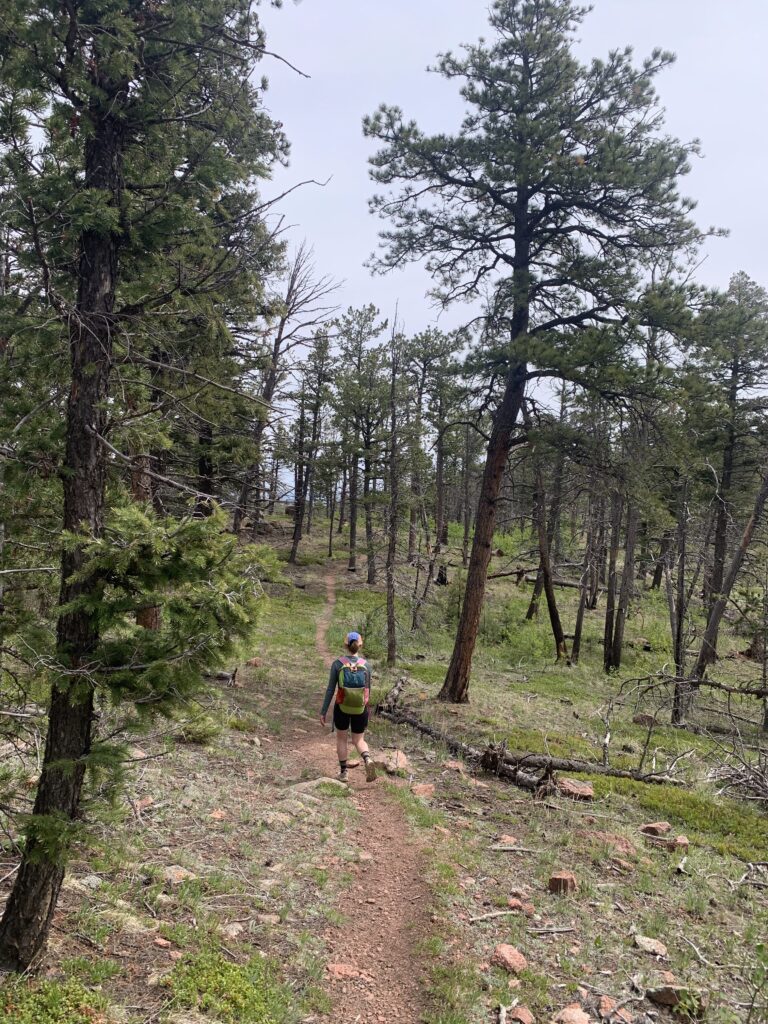
Descending from Ormes Peak
By the way, acclimation isn’t a one-and-done chore. I.e., even once you acclimate to 8,000 feet, you might still feel out of breath at 13,000 feet. On multi-day expeditions, including giants like Everest and other extended backpacking trips at high altitude, hikers must acclimate to each new altitude they gain.
For a day hike, all you can do is acclimate to the base camp altitude. Doing so is generally sufficient to protect you from altitude sickness, given that you’ll be returning to that base camp altitude once you’re done hiking.
Hydrate
Drinking more water than usual helps your body acclimate, too, especially since the human body dehydrates faster at elevation. Make sure you’re hydrating both before and during your hike. It’s generally recommended to bring at least two liters of water for a hike like a 14er–that’s two standard-sized Nalgenes. Even better to bring more (or a filtration device) if you can.
Tomo looking unbelievably cool with his two-liter hydration pack on one of our early high-elevation runs
It’s also important to retain the water you’re so diligently drinking so that you don’t suffer from over-hydration. It’s easier than you might think to accidentally flush your body’s sodium reserves. Keep your minerals balanced by eating salty snacks or popping a hydration tablet into your water bottle.
Take it easy
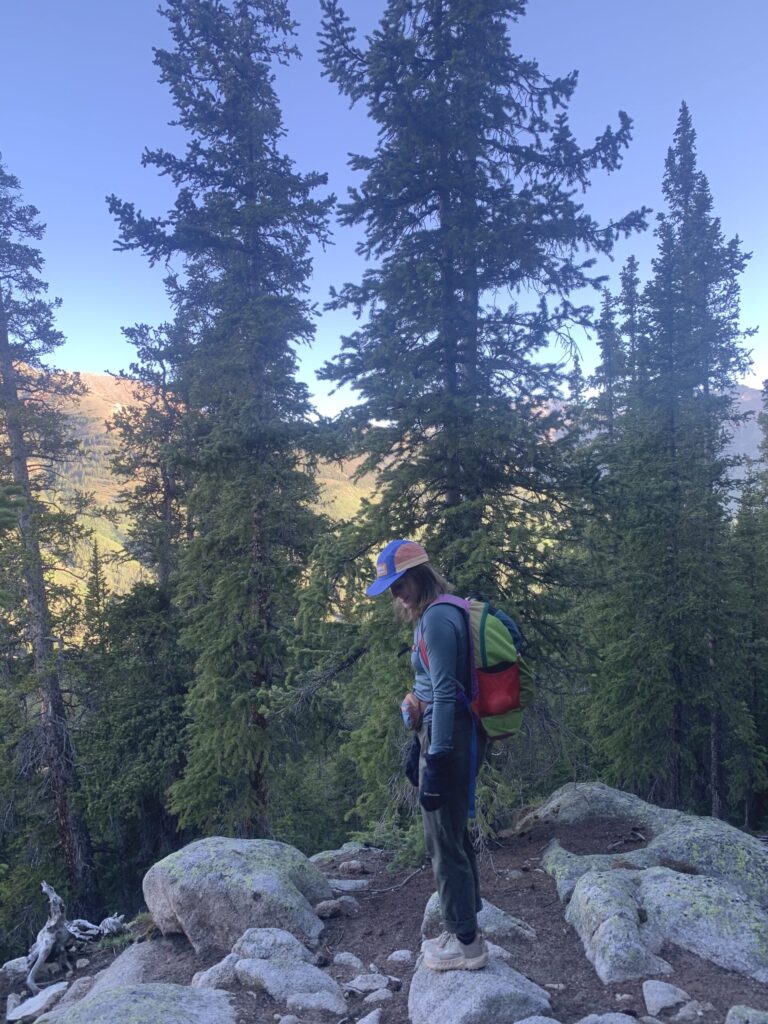
During your first few days at altitude, give your body the energy to undergo all of the transformations that come with acclimation. If you’re feeling the itch to go for a run, cut your mileage, take a slow pace, or both. If you’re lifting, take less weight than you usually do and give yourself ample recovery time between sets. Fuel yourself with balanced, nutritious food and prioritize rest. Even just going for a walk at your new altitude is a great way to move your body without exhausting it.
Tomo enjoying a stroll casual-style on one of our first days at altitude
Train
This one is an unfortunate truth. Being strong just does make a difficult hike easier, giving you the freedom to look around and appreciate your beautiful surroundings. The ability to hike quickly also improves your chances of making it back to the treeline before afternoon thunderstorms roll in (we’ll talk more about these later).
You don’t need to train like an ultrarunner to enjoy your first 14er, though. A little bit of effort goes a long way.
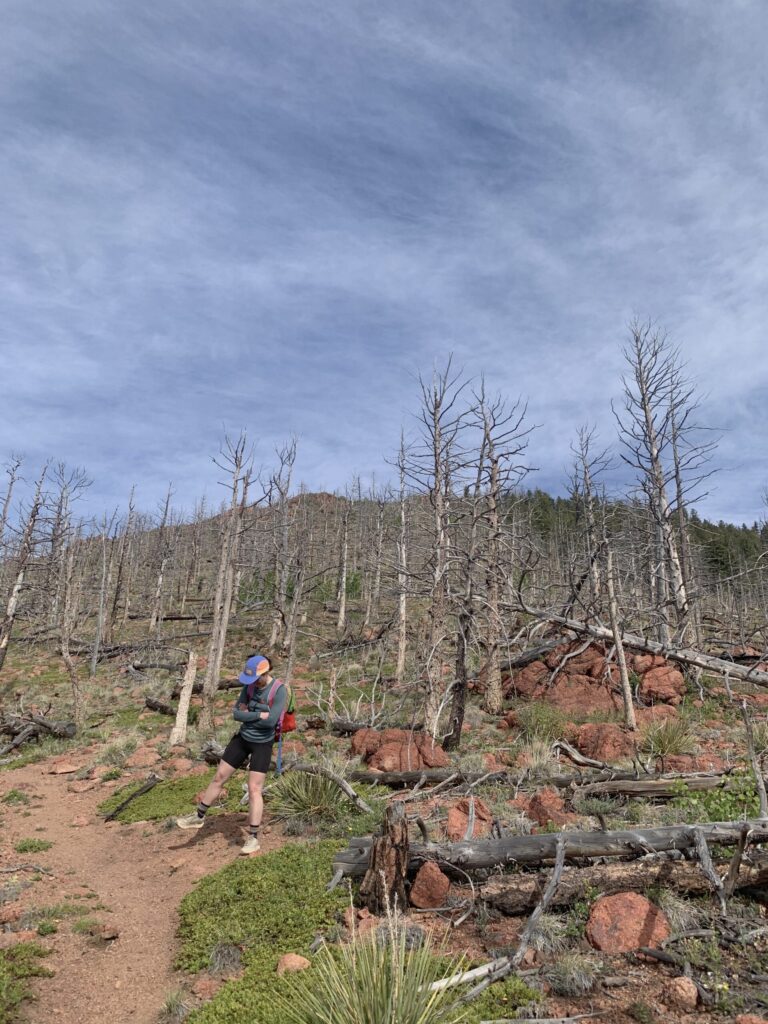
Similar hikes at slightly lower altitude than your goal
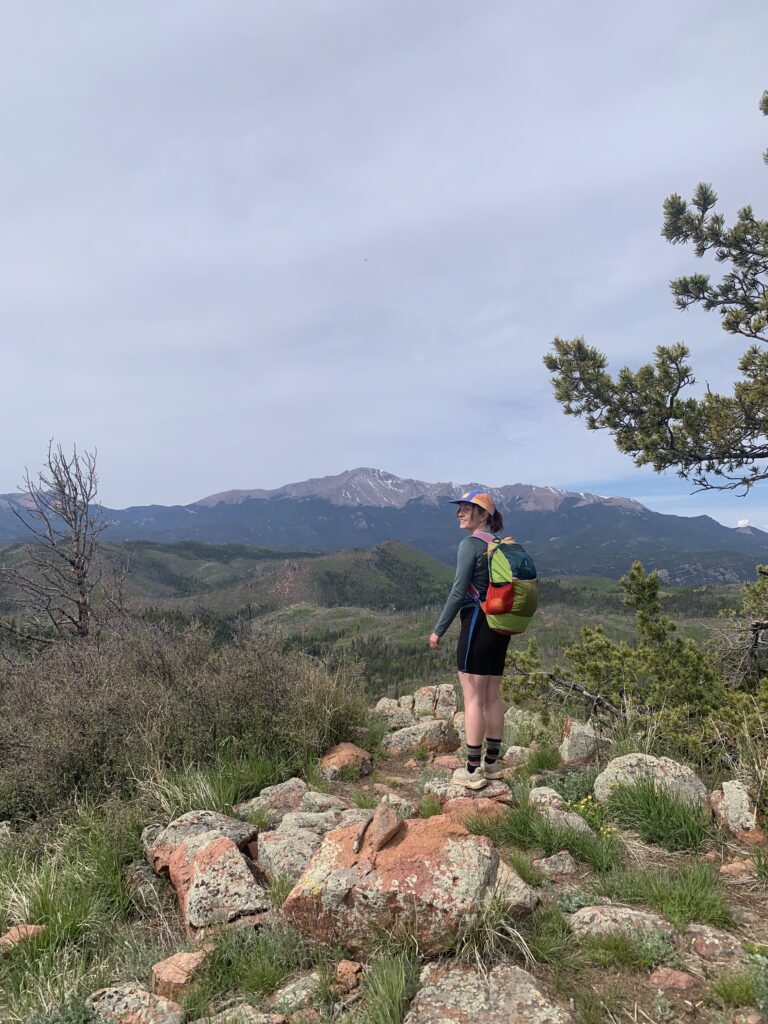
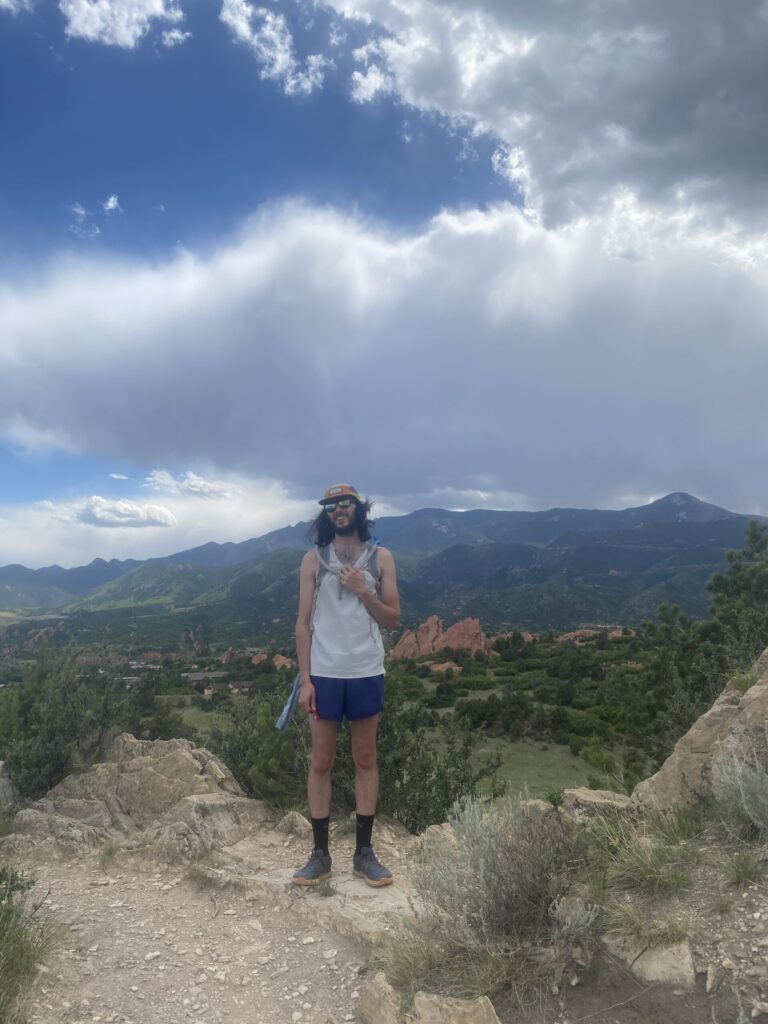
On Ormes Peak, with Pike’s Peak posing in the background
Before you bag the big peak, seek out hikes with a similar elevation gain and mileage but at a lower altitude. Hikes like Ormes Peak or Agiocochook (Mt. Washington) will ease you into exerting effort at altitude without putting you in too much danger too quickly. The experience will fortify your mental strength, too. Consistent elevation gain over many miles is a true perseverance test, but if you’ve already done it, your mind and body will be better prepared for the effort it demands.

Tomo enjoying a well-deserved rest on the rocky slopes of Agiocochook last year. Be sure to check the weather and pack lots of layers for this hike!
Pay close attention to your gear on these practice-hikes, too. How’s the fit and balance of your pack? Which layers are you glad you packed, and which do you wish you packed? How do your feet feel in your socks and shoes? Take note, and make any alterations to your kit that might be needed.
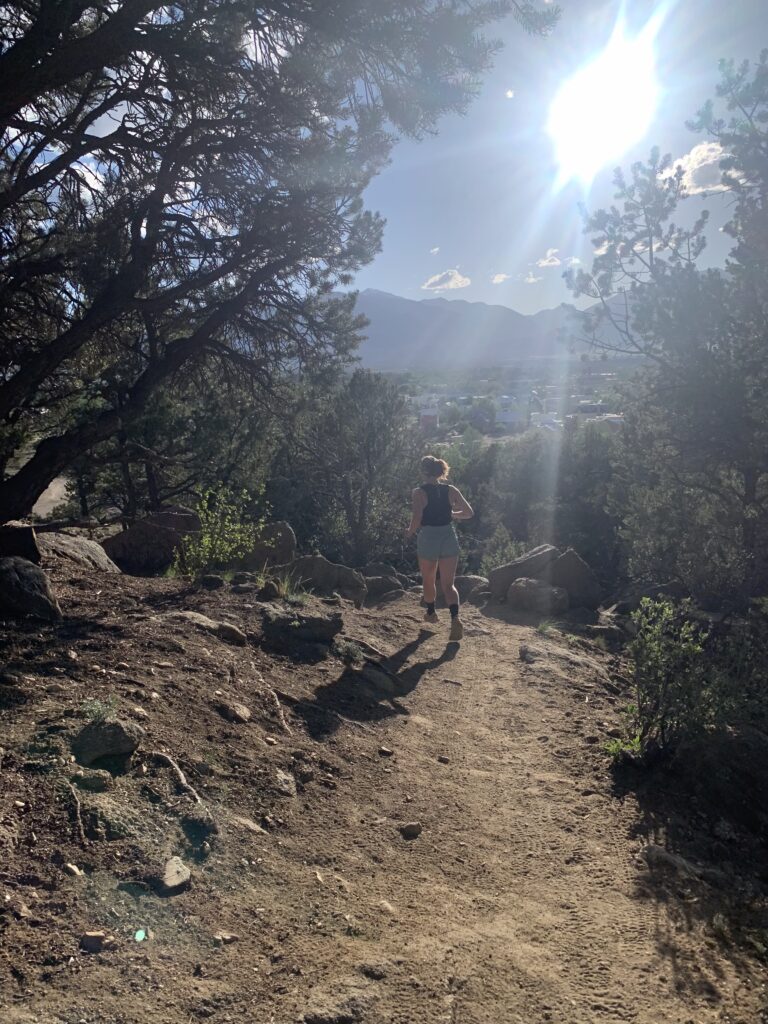
Consistent cardiovascular training
Of course, hiking itself is some of the best training you can do for hiking. Depending on where you live and how much free time you have, though, it can be difficult to hike consistently. That day-after-day regularity is important. In many cases, it’s easier to squeeze in a run close to home multiple times a week than it is to hike that often. I’ve discovered that keeping up with cardio, even if that means going for regular runs, just makes mountain adventures more dang fun.
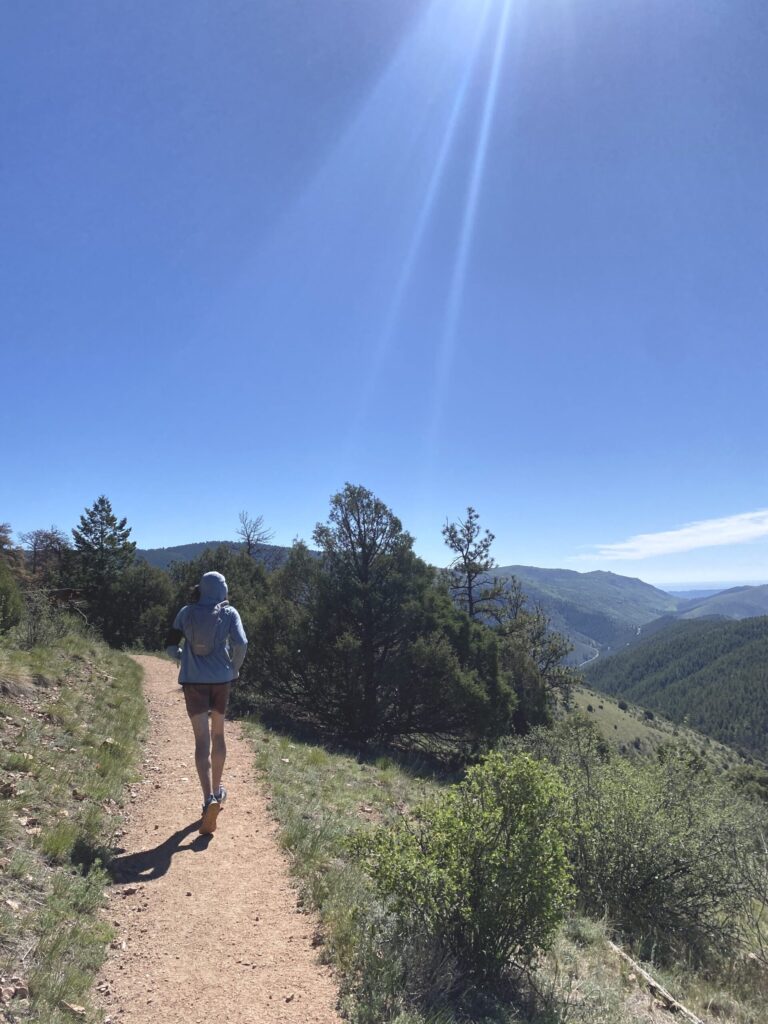
Whether you’re road running or trail running, your cardio training will be the most translatable to hiking if you’re tackling some elevation gain. That can even mean hopping on a treadmill and racking up the angle, if you have access to one.
Floatin’ with a view of the Collegiate Range
One running habit that I personally can’t recommend is striving to make your running pack as light as possible. Even though doing so will make your run easier, it will make your training slightly less effective, since your goal is to chew down elevation while carrying a full hiking pack. Bring all the reasonable stuff, as long as your knees can handle it–water flasks, layers, your full keychain, whatever! It’ll make you strong. There’s no reason to be at a race-pace on these training runs, and every reason to bring enough water.
Tomo enjoying the view
I also have many friends who train for hiking by cycling. There’s lots of crossover between these two sports, both physically and culturally. Your quads and calves will surely be pleased.
Strength and balance
I have this article to thank (from the Sojourner Mountain Guides) for reminding me just how important this category of training is. Balance and physical strength become critical when you’re hiking on unstable terrain carrying a heavy pack, and training these skills can prevent dangerous falls. I won’t steal the Sojourner Mountain Guides’ thunder by listing out full workouts here, but I will provide two avenues for you to wander down:
- Yoga. Classes can be expensive, but YouTube is free. Aside from improving your balance in general, yoga will help you strengthen stabilizing joints imperative to having a good hike. It will also sharpen your mental focus and mind-body connection.
- Free weight training. Using machines in the gym will make certain muscles stronger, but it won’t help your whole body work as a unit in the same way that free weights will. Get comfortable with dumbbells, barbells, and full-body movements like cleans or RDLs. One of the cheapest and most accessible gym memberships is Planet Fitness. That’s where I trained for some time.
As a p.s. …
You don’t actually have to be “good at” any of these training strategies in order for them to be invaluable to you as a hiker. I’m a devoted but non-professional yogi, a super casual weightlifter, and a very slow runner. Training doesn’t have to be a contest. It’s just an avenue to make your body more habitable and, of course, make your life more fun.
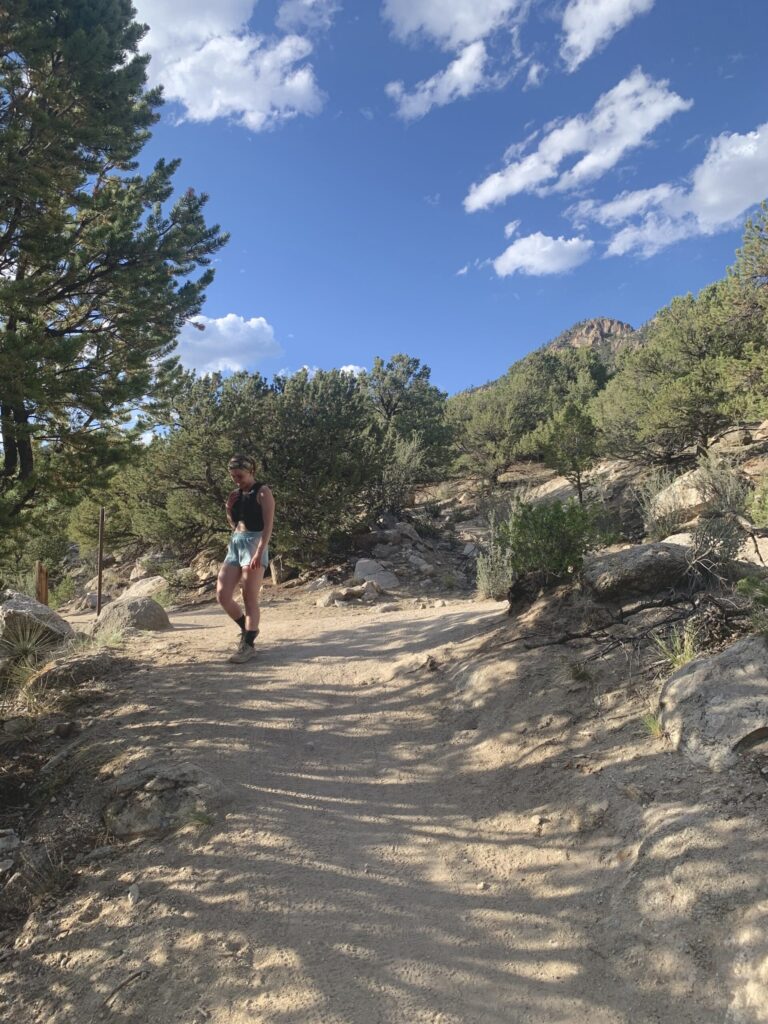
Me practicing my favorite trail running technique: taking a very long break
Pick the right summit for you
No two 14ers are the same. They vary dramatically in mileage, terrain, trailhead accessibility, climate, and countless other factors.
Tomo and I settled on Huron Peak as our first fourteener for three main reasons. There are no exposed, difficult scrambles on this hike; we wanted to have more practice hiking at altitude before attempting technical terrain high up there. The Huron Peak Trail is also immensely beautiful with several different ecosystems to enjoy, including a high-altitude meadow. We both were super stoked about that, and the meadow did not disappoint. We also were able to drive directly to the 4WD trailhead, making it a comparatively short and very manageable hike.
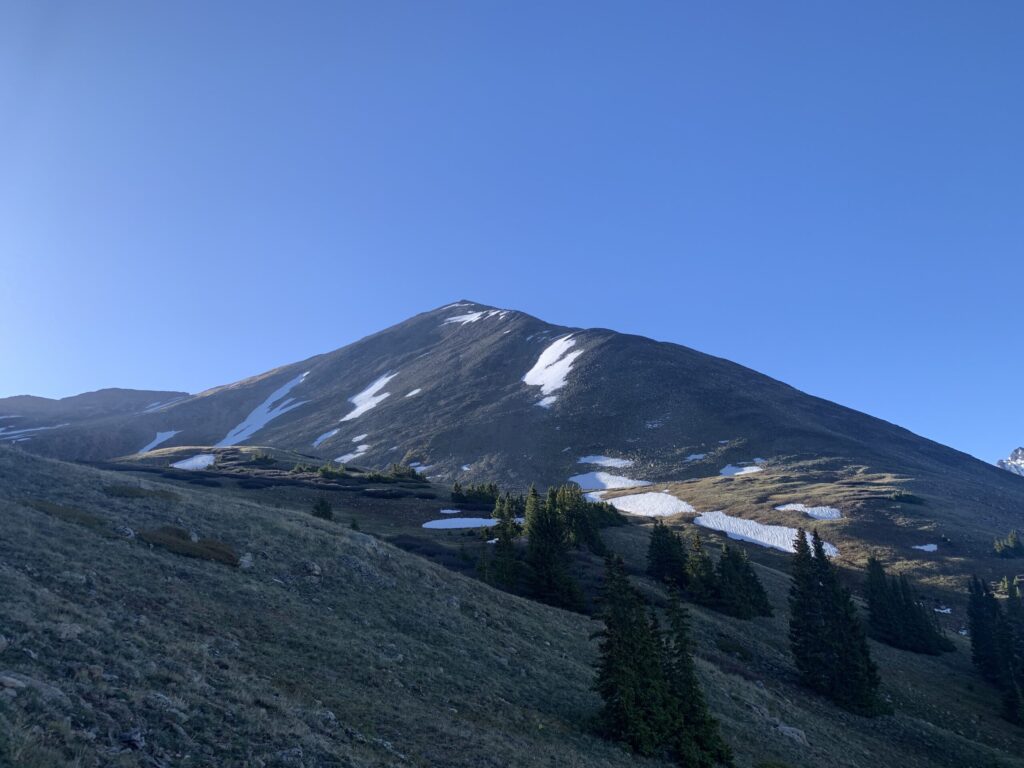
Huron Peak
To summarize, here are the important factors you might want to consider when picking your first 14er…
- What class terrain am I prepared to handle?
- Where am I currently located?
- Can I get to the trailhead early enough?
- Is the trailhead accessible with the transportation I have?
- How much mileage can I complete within a reasonable timeframe?
- Do I have the skills and gear for a multi-day trip?
Collect your answers to these questions, and seek out a peak that fits your needs.
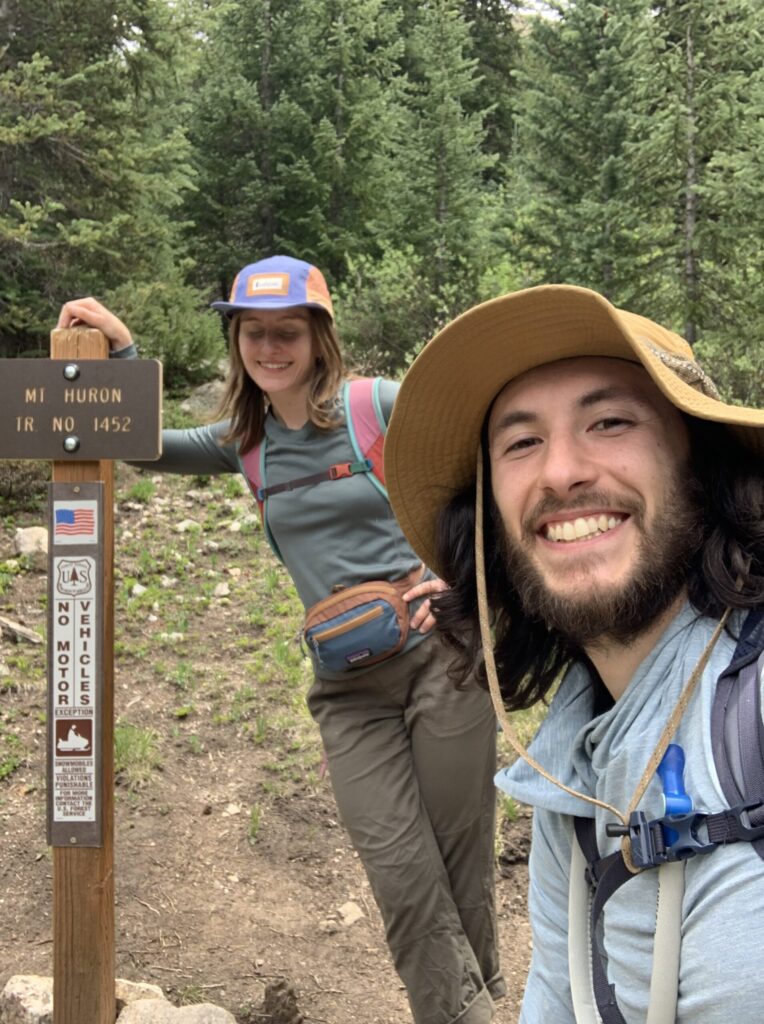
Tomo and I back at the trailhead after a successful adventure
The day before…
Pack your bag
Make sure you have absolutely everything you need tucked away in its right place. This is what I would bring for a 14er (or almost any other hike, honestly):
- Salty, fat-rich, and sweet snacks, like…
- trail mix
- dried fruit (or fresh fruit! I love to bring a whole apple)
- protein bar(s)
- At least two liters of water (I set my Nalgenes out so I don’t forget to fill them in the morning)
- Hydration powder or tablets (optional)
- Sun protection
- Sun shirt
- Sunscreen
- Sun hat
- Warm hat
- Fleece
- Puffy
- Windbreaker / rain coat
- Warm gloves
- Extra socks
- Headlamp
- Map (physical or downloaded–don’t rely on cell service)
- Other navigational tools if you got ’em, e.g. compass or satellite device
- Microspikes
- This is a great one to rent or acquire secondhand. Traction devices can be expensive when bought new, but since they’re often mostly metal and quite durable, used ones will suit most hikers just fine.
And the honorable mention that is genuinely an essential but I simply do not have because every time I see them they are too expensive:
- Trekking poles
I fall on my butt at least twice every hike, and I suspect that it’s because I don’t have trekking poles. At least, that’s where I’m choosing to place the blame.
I also recommend that, in addition to my list here, you confer with REI’s 10 essentials list. Some of the items they include are only truly essential if you’re in more of a wilderness or backcountry situation, but I still highly recommend bringing most (if not all) of them. One of the most important takeaways from REI’s list is that you should always pack for the event that you must spend more time outdoors than originally planned. Bring extra food, water, and layers in case you get stuck out there.
Pro tip: you can pack items that you want to access easily, like snacks, a tiny water vessel, a phone, or a radio, in a wee fanny pack worn on the front. Some backpacks have waist pockets for just this purpose, but if yours doesn’t, I recommend the fanny pack avenue.
My pack situation on display: a Patagonia fanny pack for snacks and AllTrails and a Cotopaxi day pack for everything else
If you want more info about some of the layers that we love, check out The Gear Shop. I especially recommend reading How to layer for cold-weather adventures, as well as this article about compassionate consumption.
Lay out the fit
Yes, just like the night before a field trip. Trust me: it really does help you get ready as speedily as possible in the morning.
For a hike, the fit I lay out in advance just consists of the base layers that I’ll be putting on before I get in the car. Everything else goes into my pack until I arrive at the trailhead. Remember to avoid cotton for all of these items, as well as the clothing in your pack. Here’s what I usually wear:
- Base layer tank or sports bra
- I prefer my tanks, but beat your own path!
- Base layer long sleeve
- Bike shorts or hiking pants
- I usually wear one of these and then pack the other
- Wicking underwear
- Hiking socks
- Trusty shoes
- I always go for hiking sandals or zero-drop and low-stack trail runners, but boots are a great option, too. If you’ll be in wintery alpine conditions (which are possible during any season at some altitudes), make sure you’re wearing or bringing shoes that are compatible with microspikes
On Ormes in my favorite base layers
Fuel up
Drinking tons of water and eating nourishing food the day before your hike prepares your body for the exertion of your expedition. This is as important as, if not more so, fueling up during your hike.
Get to bed nice and early
I find that keeping my whole day on an early schedule helps a lot with this. Having an early lunch makes it easier to have an early dinner, having an early dinner makes it easier to get to bedtime chores at a reasonable hour, all of which can lead to a successful 8pm crash.
Tomo “going flat mode”
The day of…
Alpine start
An “alpine start,” commencing an outing by 5am or earlier, is essential to making it off the summit before afternoon thunderstorms in the Rockies. Foul weather can roll in over the course of mere minutes, even on a bluebird day with abundant sunshine in the forecast.
If you’re above the treeline when one of these monsters manifests, you could be caught in severe winds, battered by driving rain and hail, or worst of all, fried by lightning. The weather is more predictable in the morning, though. If you’re tucked safely back under the treeline by noon (or even better, done with your hike entirely), you’re at much less risk.
Tomo and I were a bit of a drive from the trailhead, so we woke up at 3:30 and began hiking by around 5:30. We were back down at the trailhead and sitting by a peaceful lake around 12:30pm.
For longer or more technical hikes, you’ll want to start even earlier. Long’s Peak, which is both, is best started at 3am or earlier.
As always, know your hike, and plan accordingly. The general rule is to be off the summit and back to the treeline by noon, and each hike necessitates a different start time in order to accomplish that goal.
Conclusions
If you want to have a challenging adventure but feel like you can’t or shouldn’t, try to observe why you feel that way. Do you feel intimidated or daunted? Have you been told you’re not cut out for this stuff, or fed harmful stereotypes? Are you telling yourself that you’re weak or not ready, or that you can’t afford the gear you need to succeed?
If your reasons look something like this, I believe that the best antidote is to empower yourself by growing. Study. Train. Prepare. Acquire the right tools, both mental and physical. If you need to assemble your gear and layers secondhand, be patient, and be willing to borrow–you’ll find a lot of what you’re looking for with time and attention.
Be dilligent, and give yourself every reason to believe you can rise to the occasion.
Good luck out there–I’m rooting for you.
Leave a Reply