Rallying the Bros: trip planning for rock climbers
Soon, the weather will be changing, and that swift breeze will dance across our cheeks, bearing tidings of sport climbing season. Many of us don’t live next door to famous crags, so it won’t be long before whispers of flights and long road trips begin fluttering through local climbing gyms. Sometimes these trips materialize with ease: maybe stoke is high and everyone does their part, maybe you have a small enough group to fit in just one car, and maybe you only live an hour away from Rumney. However, it’s rare that all of these pieces fall into place without some effort. As a recently-graduated member of Princeton University’s climbing team, I can say with confidence that it takes a lot of energy to plan a big climbing trip—especially if you’re setting sail with a large group or if you’re planning to travel on a tight budget. I attended four huge trips to the beautiful Red River Gorge in two years on that team, early on as a brand-new outdoor climber and, by the end, as a primary organizer. I’m here to share some of the wisdom that I’ve acquired from each mistake and each fortunate win that led me to where I am today. Read on for my best trip planning tips.
This article is the most helpful for organizing large groups, especially those with diverse climbing abilities and experience levels. It lends new travelers enough knowledge to feel empowered in their personal preparation, helping them building the confidence to contribute to the larger group. It provides organizational structure for pro trip planners too, along with many of the resources they might wish they had on their first ever trip. Even for these more experienced climbers, the thoroughness of this little guide can help alleviate the stress of trying to plan everything on your own. This article also can be of use to smaller groups—I would have loved to have a guide just like it on my first Red Rocks trip. It was just me and my best friend and I had only been sport climbing for a few months. It was only with lots of dispersed research and by embracing some seat-of-our-pants spontaneity that we were able to have a successful trip. This tailorable guide gathers lots of that information in one place, allowing all the outdoor climbers out there to focus on the more exciting parts of trip planning rather than the stressful ones. Here’s a step-by-step to get you out the door and on the road.

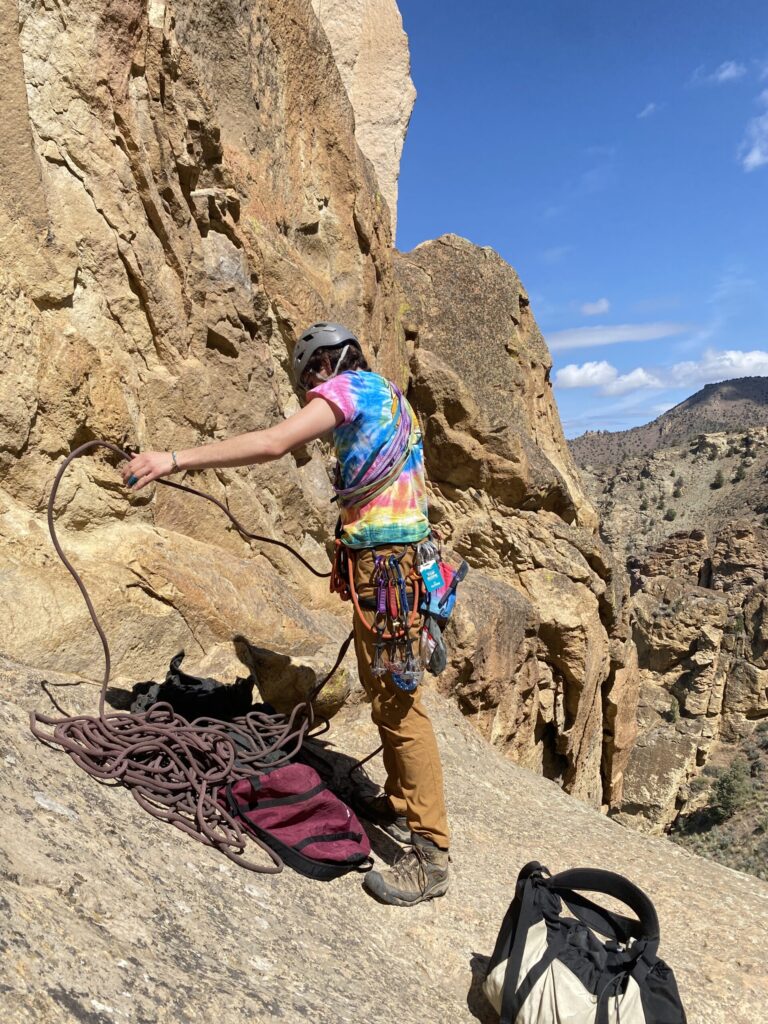
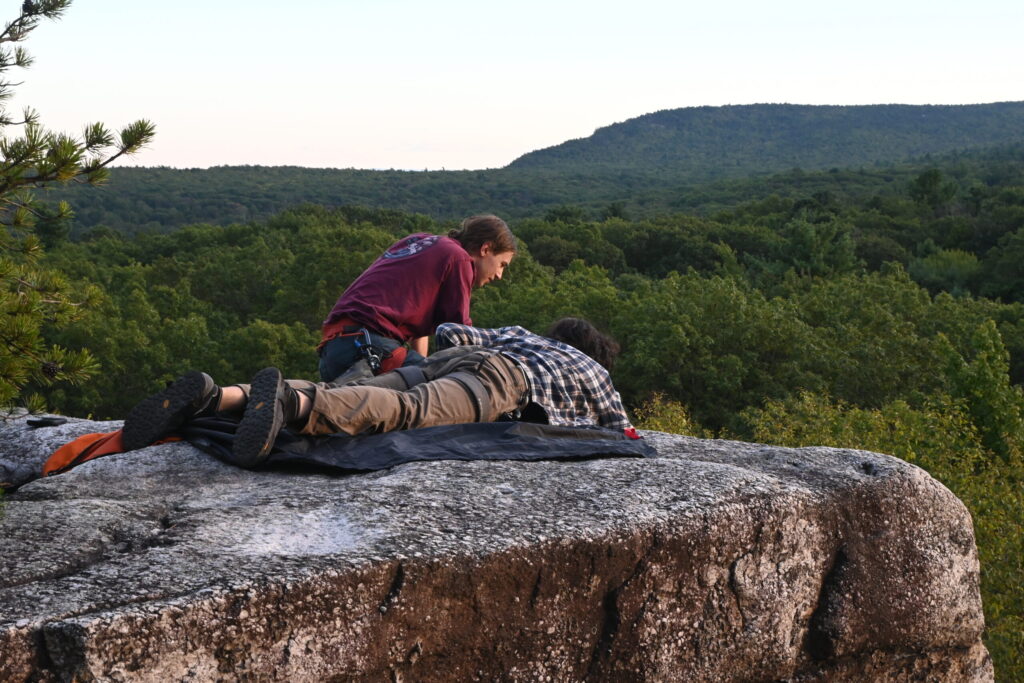
My buddy Bailey at Red Rocks, finally enjoying the view after we spent almost two hours trying to find Cut Your Teeth Crag
- Get everyone stoked.
- We all know that motivating a bunch of climbers can take a special touch. Long-distance and long-term trips are expensive, difficult to plan, and can be a big commitment. The first step is to identify who you’d like to come with you and get them excited enough to overcome these hurdles. Invite more people than you’d naturally envision (many of them will bail). Show your camping family, climbing gym buddies, and university climbing team friends some photos of the landscapes that are calling you. Generate psych.
- Once a good handful of people are on board, get them extra-stoked to make sure they stay on board. Create a Spotify playlist and add them as collaborators. Chat about crags when you’re all together, suggesting a few routes from each location based on your attendees’ strengths and interests.
- Decide where you’re going.
- Now that everybody’s talking, it’s time to narrow down your climbing areas. Maybe you already have just one in mind, or consult my article on sun-chasing (coming soon!) to identify which climbing areas will have the friendliest weather and vibes during your adventure.
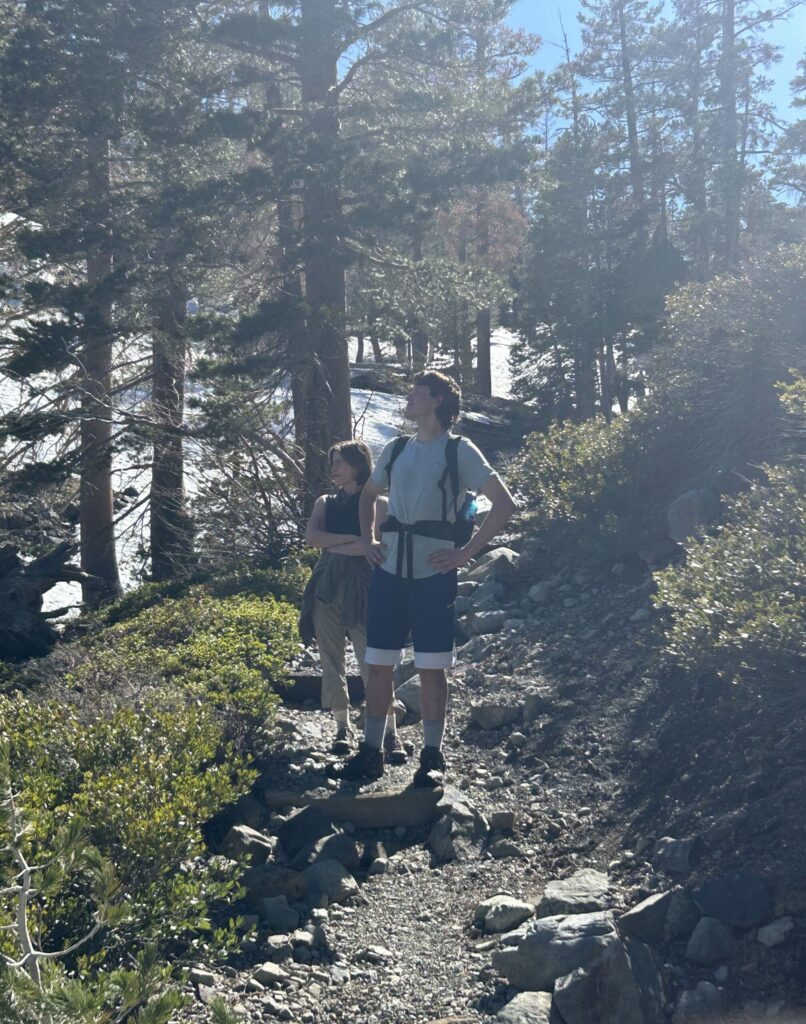
Me (left) and my dear friend Kirby (right) enjoying a hike near Lake Tahoe with our buds. We all stopped here on our way to Bishop, CA, a road trip that had been many weeks in the making
- Get Organized.
- Okay, so now it’s serious. A couple people have already bailed, and the ones who are left are starting to get personally invested in specific climbs, crags, or campsites. At this point, it’s fair to start getting organized. Much of this organization can be done verbally and informally if you’re heading out with a small group, but bigger crowds can seriously benefit from writing these plans down somewhere. Use this link to a spreadsheet I made for this very purpose, based upon the many university climbing trips I have either attended or led, multi-pitch adventures I’ve commandeered with rowdy groups of friends, and my experiential expertise with even-more-spontaneous non-climbing trips. This sheet contains a variety of editable tables with examples of how to fill them out, and almost certainly has way more information than you need. Feel free to copy this document to your own google drive or to your Excel library—make edits, add any categories you feel compelled to, and delete any tables or columns that are in excess of your own specific needs. This spreadsheet can help direct and document the next several steps.
- I also recommend creating a “Splitwise” group at this point. Splitwise is an app that allows members of a group to input their expenses and automatically calculate how to divide those expenses equally.
- Complete your first gear check.
- After confirming what kind of climbing you will be doing, do a preliminary check for the most important gear. If you’re climbing trad at the Gunks and nobody has a #1 cam or if you’re bouldering at the Buttermilks and nobody has room to pack their crash pad, this is the time to reevaluate. Running a gear check early on addresses these situations before they become unresolvable issues and prevents nasty surprises from occurring the day before hitting the road.
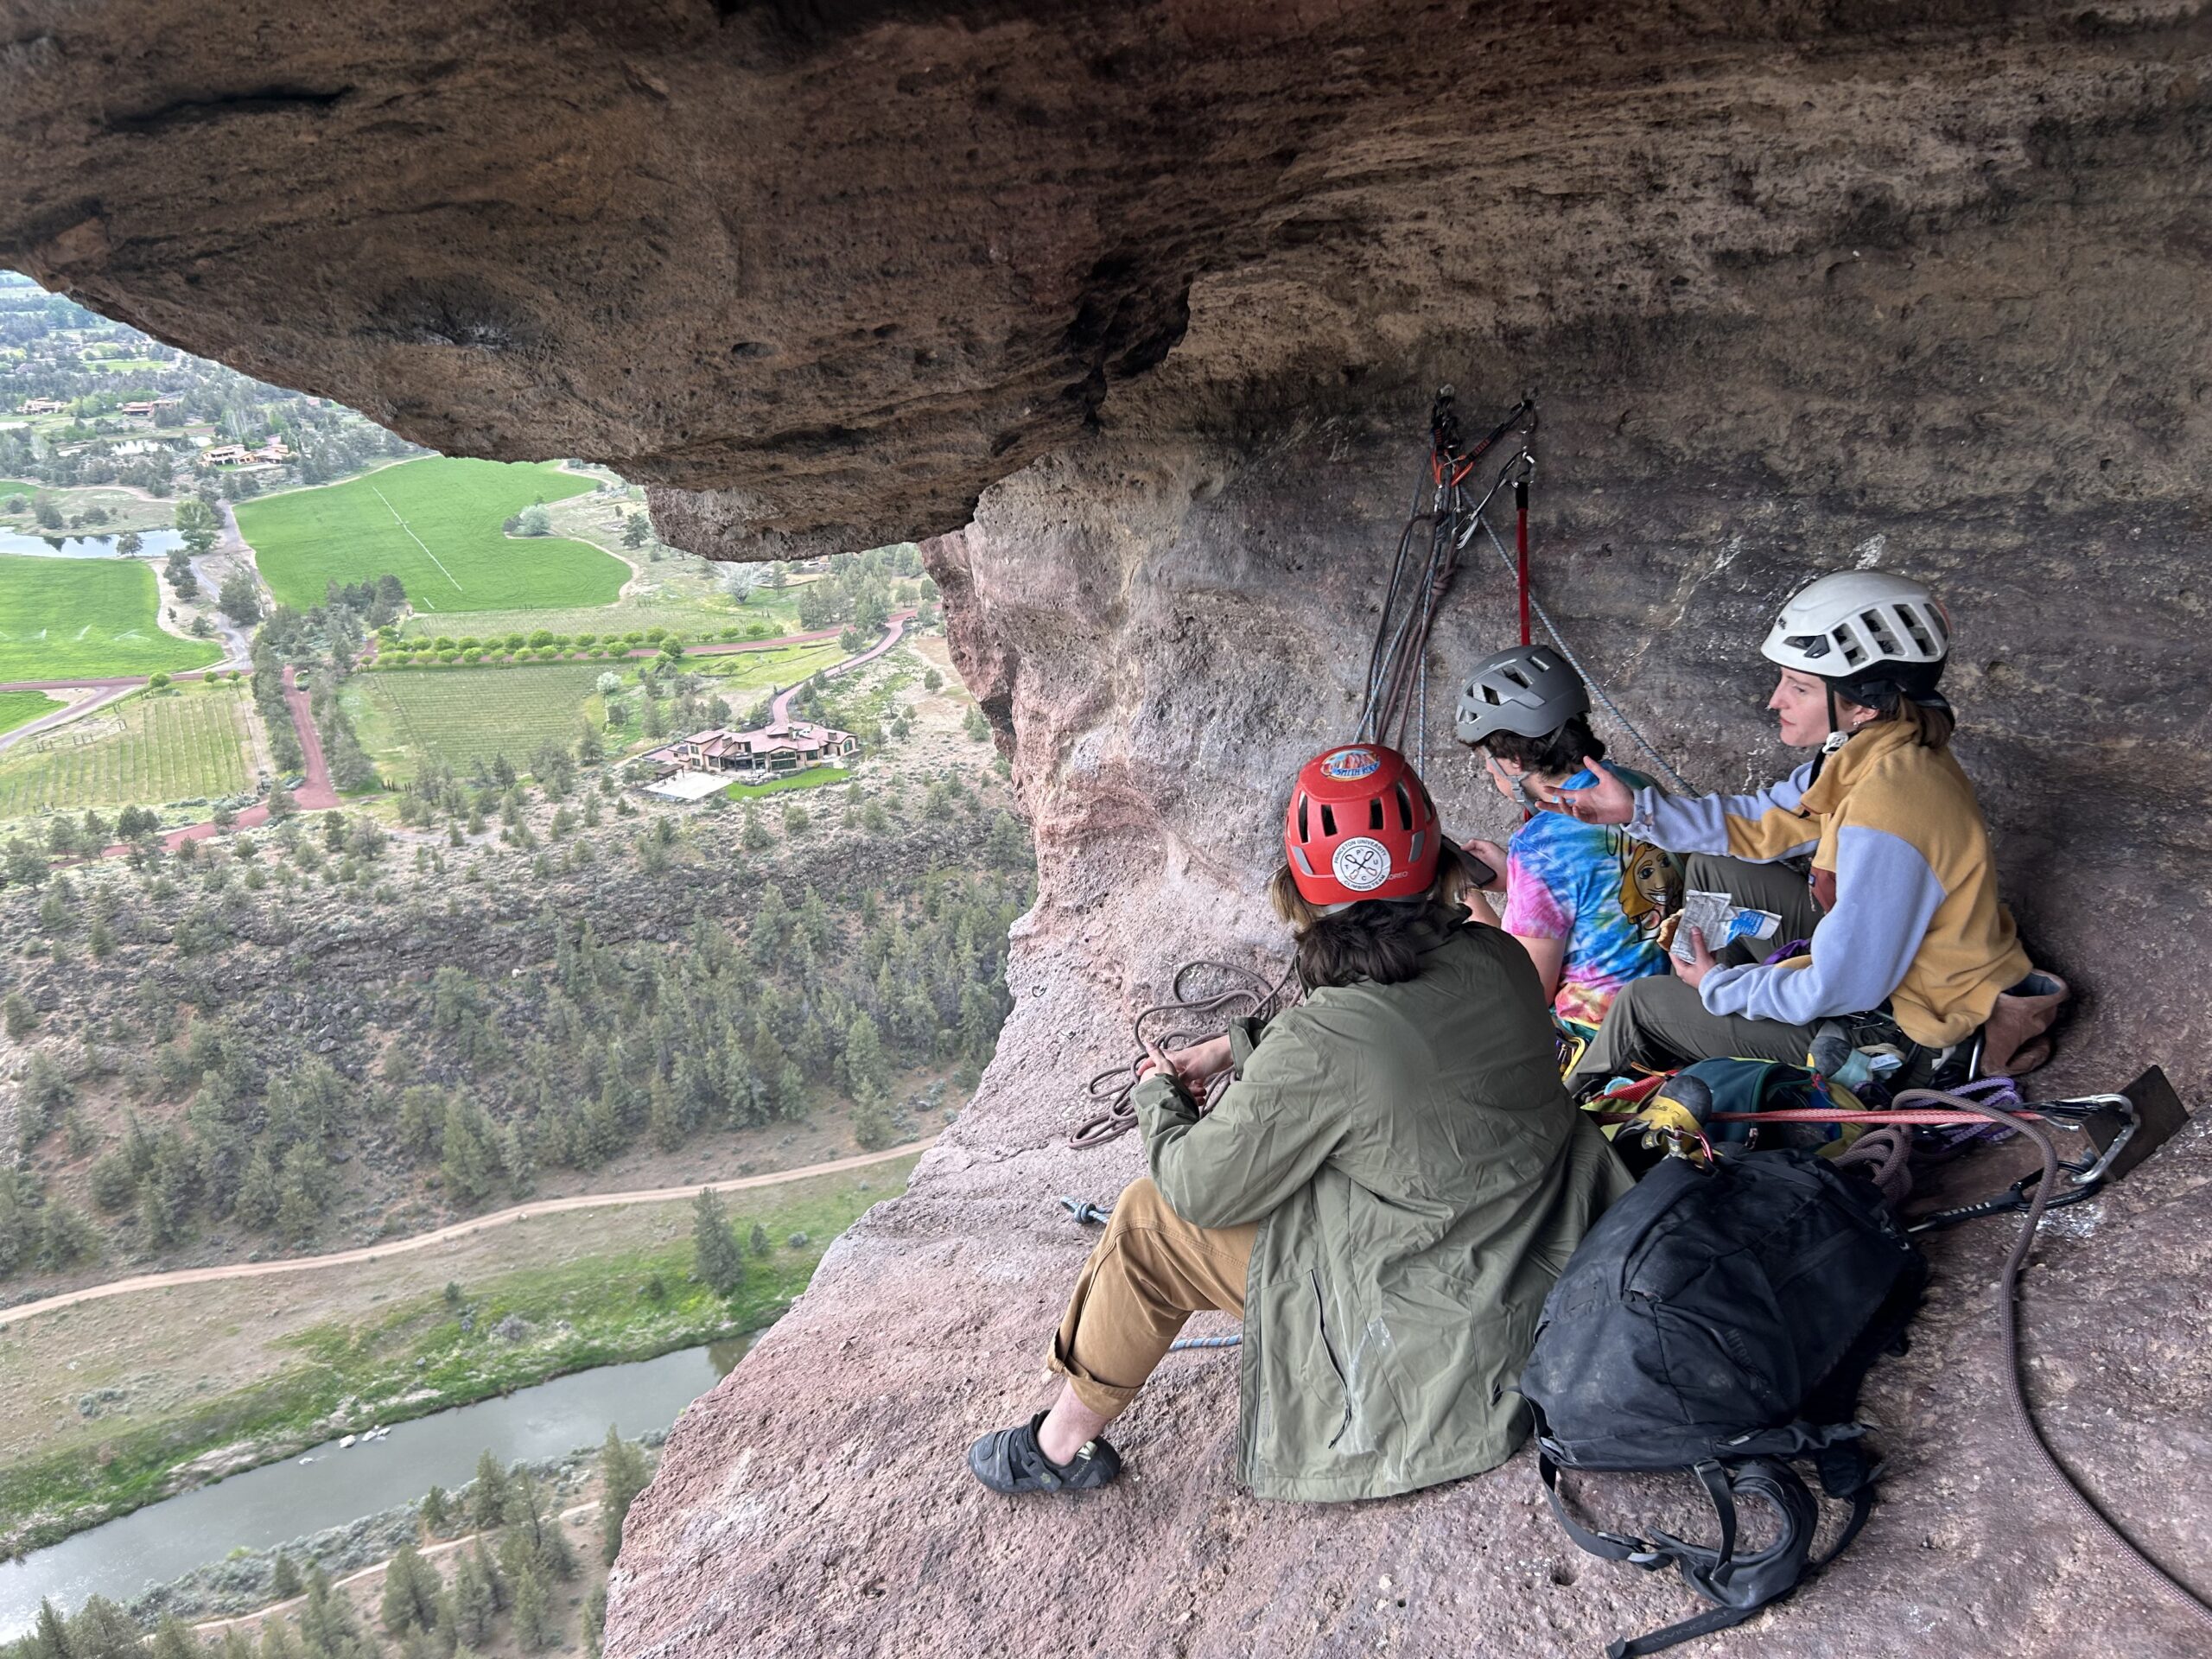
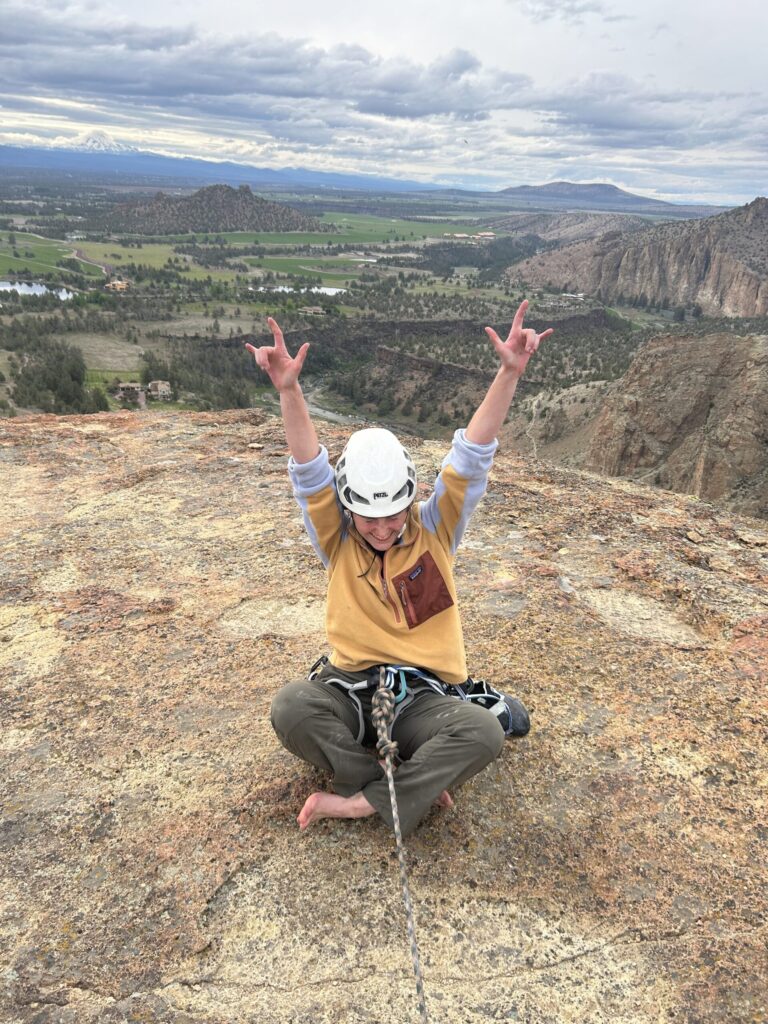
Kirby at Smith Rock, geared up with all sorts of bits and bobs we would not have wanted to forget at home. Thank goodness he’s toprope certified (see blue tag on harness)
My good friend Colin (left) and my darling partner Tomo (right) setting up an anchor at Peterskill. We couldn’t find our cordalette the night before (YIKES!!), so we purchased one at a gear shop called Rock and Snow the morning of. This mistake cost us some cash and almost getting towed from the parking lot, but we still had a really wonderful couple days
- Book a place to stay and a way to get there.
- This is the first step in which I highly recommended you sit everybody down in the same room. Otherwise, this responsibility might fall on one person, and that’s way too stressful for just one little guy. It also can be difficult to meet everyone’s needs and desires in this category based purely off of group chat communication. Get all your friends together in person or on video chat and look into their eyes. Say, “bro, the Airbnb only has two beds and there are four of us.” Or whatever.
- When you book a place to stay, start with deciding what kind of accommodation your group is looking for. Then, compare all of the options within that kind of accommodation. Once you’ve found a specific place, call them or visit their website to secure your stay. For instance, let’s say your group wants to camp rather than staying in an Airbnb, hostel, or hotel near Rumney in New Hampshire. Some research will bring you to a variety of campsites, including ones like the Baker River Campground and the American Alpine Club’s Rattlesnake Campground. Compare the vibes of these campgrounds (among others) and book a site at the campground that offers the sort of accommodations and facilities you all prefer. Once somebody books the stay for the group, decide whether you want to do the math and immediately pay them back (can be helpful because these bookings are usually a big expense!) or put the cost in the Splitwise.
- Figuring out how to get to your location is only relevant this early on if you need to book flights. It can be fun and helpful to get everybody on the same flight—this lets you navigate the airport together and search for the best prices as a team. Make sure you’re purchasing enough luggage space for all of your gear and making plans for a rental car if necessary!
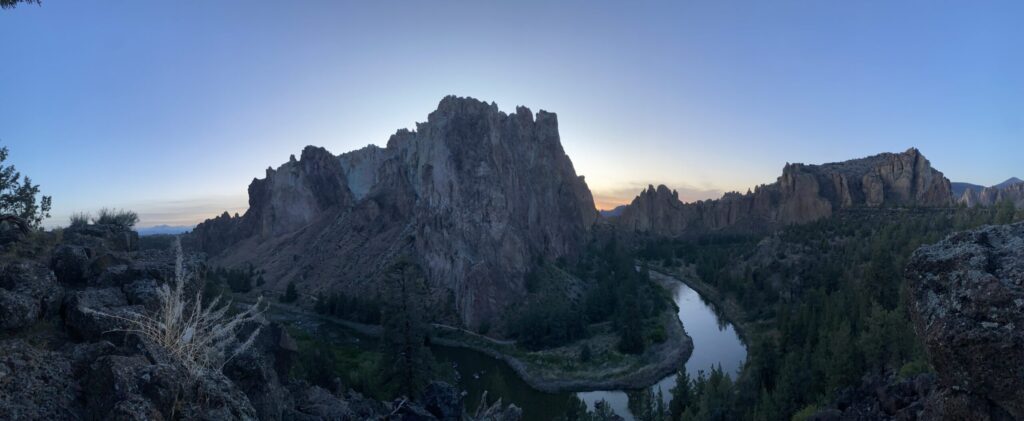
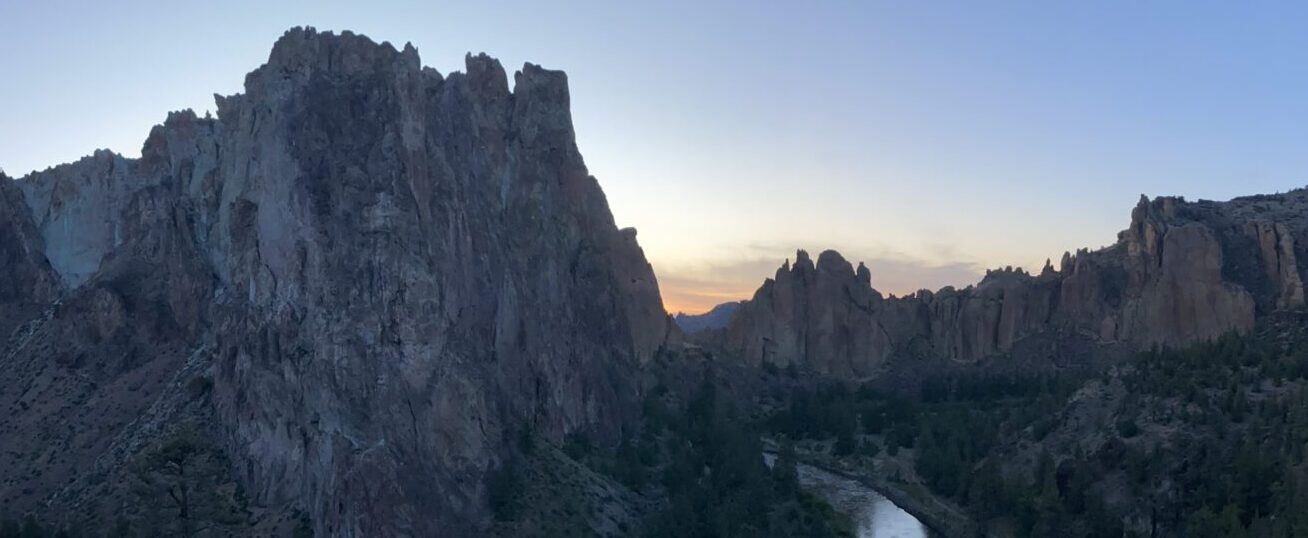
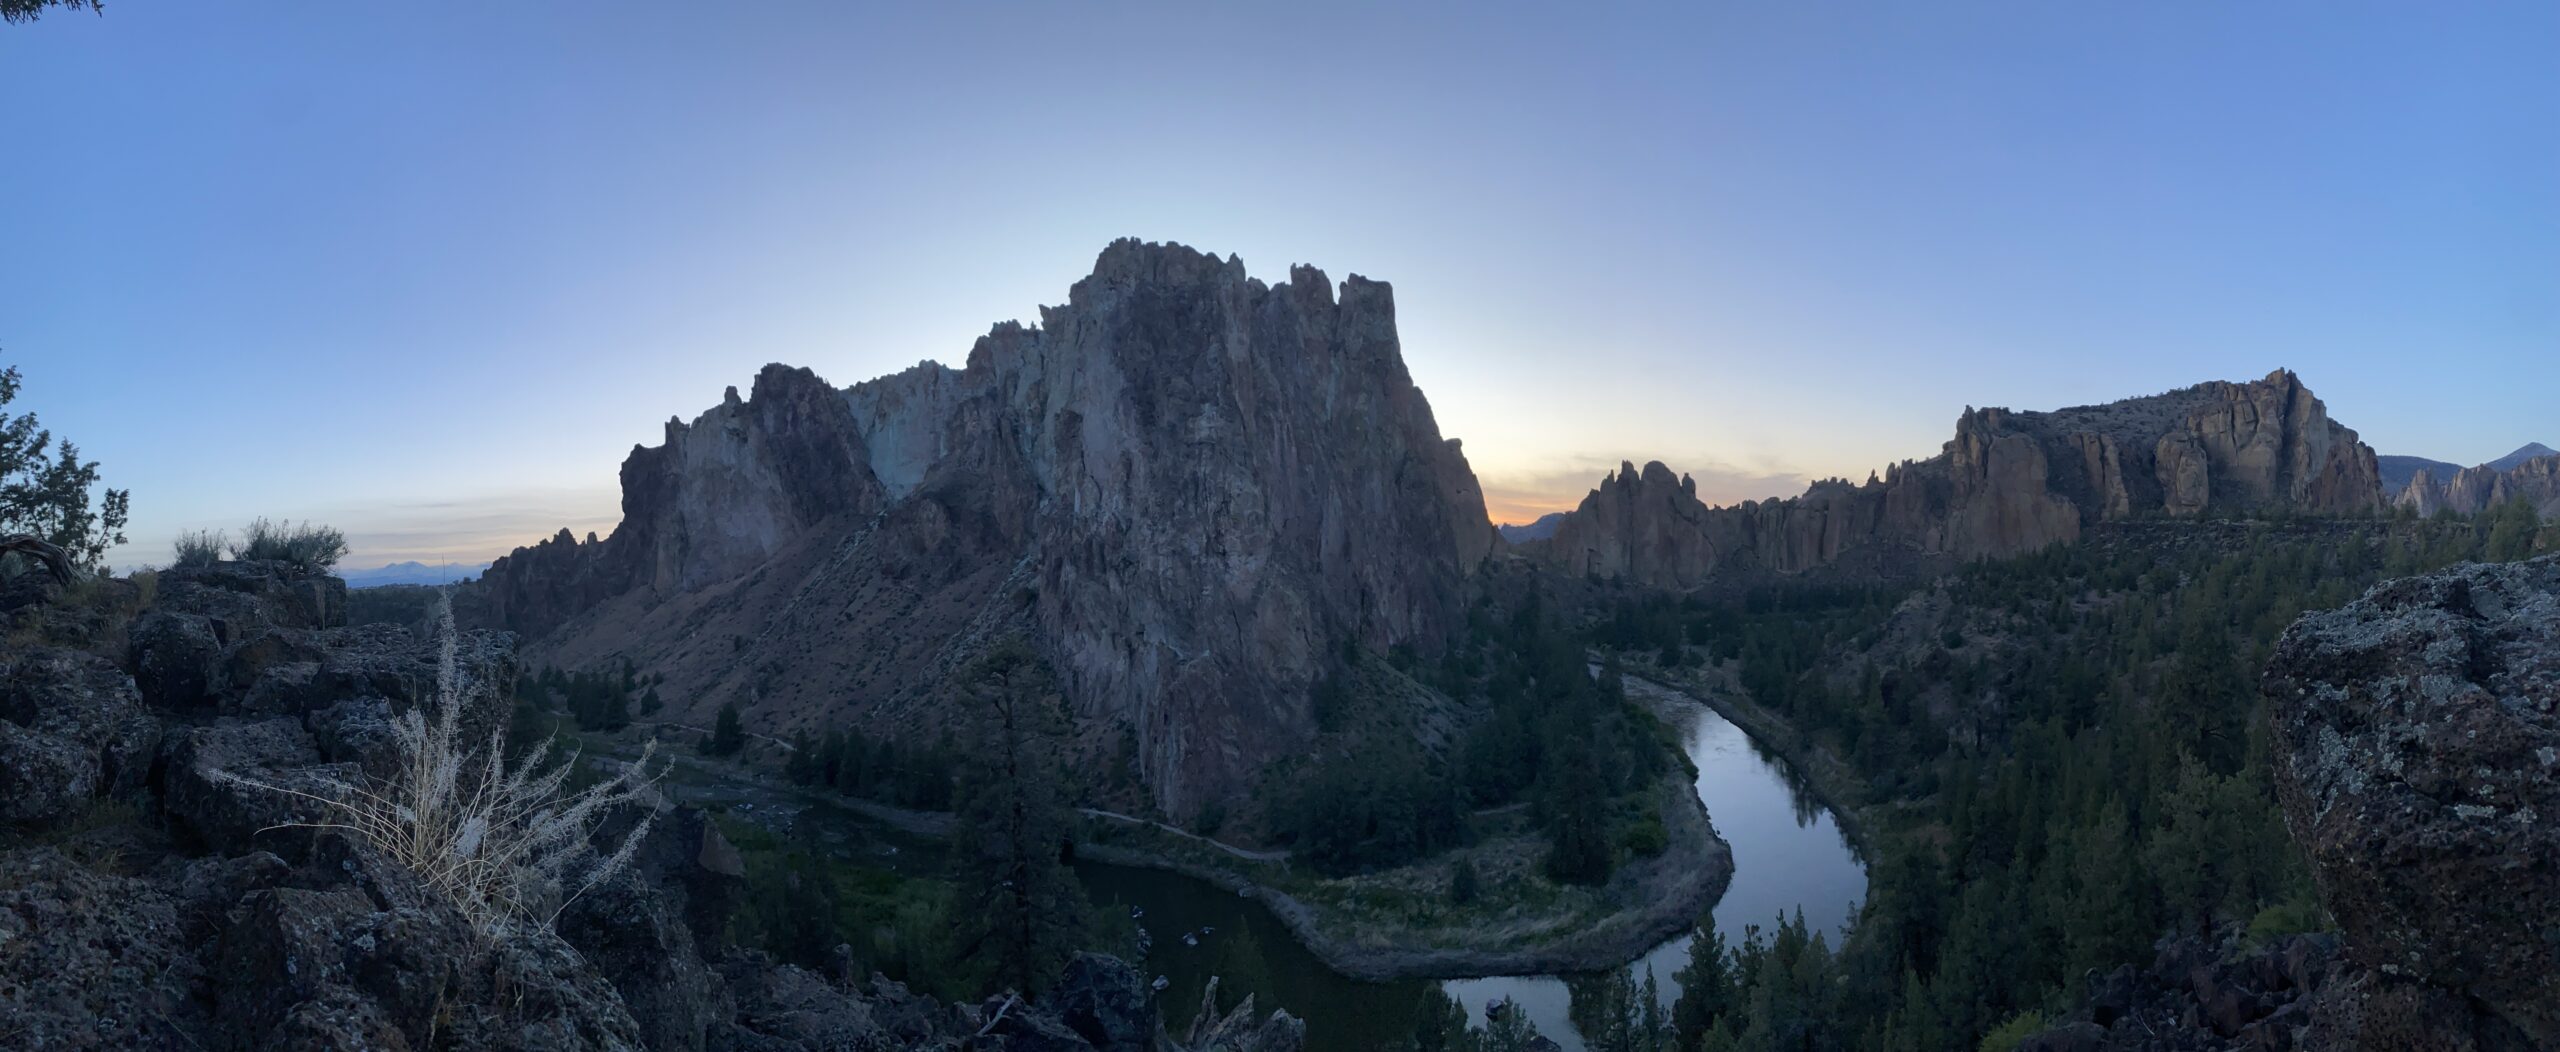
The beautiful view from the Smith Rock State Park campground and also the logo for this website
- Make sure everyone is still in.
- As your departure date approaches and plans solidify, it becomes more awkward each day for someone to announce that they have to bail. It’s tempting to put it off. Make it easy for your group by checking in casually to see if any plans have changed.
- This step is much easier if you avoid booking expensive accommodations. It can be nice to have a fancy bed to sleep in, and some climbers have strong preferences for nightly comfort so they can send their hardest during the day, but covering big costs if somebody backs out can get complicated. It’s much easier to pick up the one-dollar-a-night extra expense that pops up when someone bails on a five-dollar-a-night campsite than it is to pick up more than twenty dollars per night.
- Plan and prepare for meals.
- Of course, you can always do this earlier if you’re particularly excited about it. You can also delegate this task to the cooking afficionados of your group, as long as they seem happy to take on the challenge. Otherwise, work together to construct a menu of dinner recipes, agree on lunches, and decide whether you want to eat breakfast at camp or take a nourishing bar on the road (I recommend Lenny’s and Larry’s vegan protein cookies). You also can set aside a budget for purchasing food if you want to cook less or skip the stove entirely, but this option is less sustainable and usually more expensive.
- Pack up any non-perishables you already have, and find a grocery store close to where you’ll be staying to hit on the way in.
Me (right) and my homie Kate (left) filling our cart at Walmart on our last stop before the Red River Gorge

- Get on the road.
- From experience…remind everyone to set an alarm if you plan to leave early. Give everybody a ring if you don’t hear from them ten minutes after the wake-up call.
- Put on your playlist, roll down the windows, and hoot and holler at the rising sun. You’re on your way.
Leave a Reply