

More often than not, adventurers transition from home life to van or trailer life because they love the outdoors. How then can we be better stewards of our beloved environment, especially while living in a vehicle?
That’s a big question, and there are countless ways to approach it. When it comes to making sustainability upgrades to your rig (which may also be your permanent home), many of the roads forward can feel daunting. That’s why we’ve collected some of the easiest upgrades: to empower you to take action. The smallest step is still a step.
Here’s a list of the three simplest upgrades we’ve made to our own rig.
LED lighting
Although incandescent lighting can feel cozy, it’s a lot less efficient than some other options. Switching to LED lighting, which is super efficient, will make a big difference in your electricity consumption.
While this upgrade sounds like it would take lots of wiring and electrical experience, it’s actually pretty straightforward. In most cases, you don’t have to upgrade your electrical system at all aside from changing out the lightbulbs.
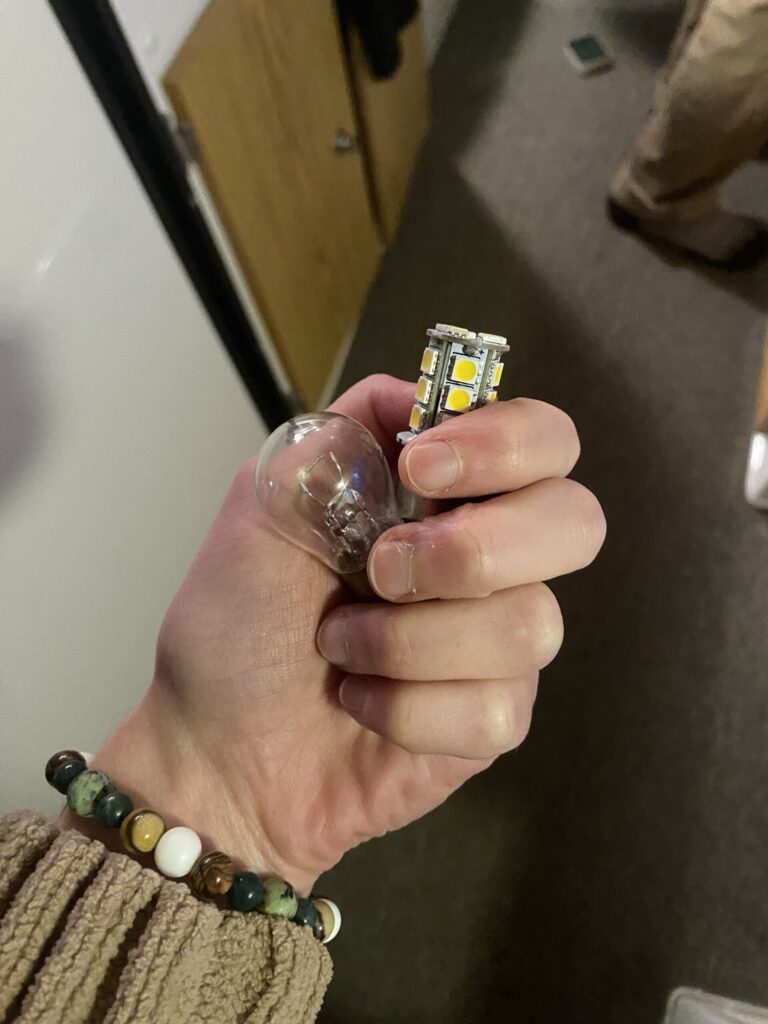
Here’s a neat comparison between the incandescent bulbs (left) that we removed from our trailer and the LED bulbs (right) that we replaced them with
The first step is to check what kind of light bulb your fixtures receive. There are two reliable ways to check what kind of light bulb you need, depending on whether you built out your van or trailer yourself or have a factory-made model. If you built your rig out yourself but don’t remember what bulbs you used, remove an existing light bulb and take a look at its base. If you have a factory-made rig, you can search up what bulbs it requires, check out your user manual, or find helpful tutorials on YouTube.
For our Casita travel trailer, we were able to use these.
LED lights come in lots of colors, so there’s also no need to worry about this upgrade making your space feel any less warm and cozy. It’s totally not obligatory to choose the icy blueish LEDs that so ofen come to mind. My partner and I picked out a “warm white” set of bulbs. They’re just as homey as our old incandescents.
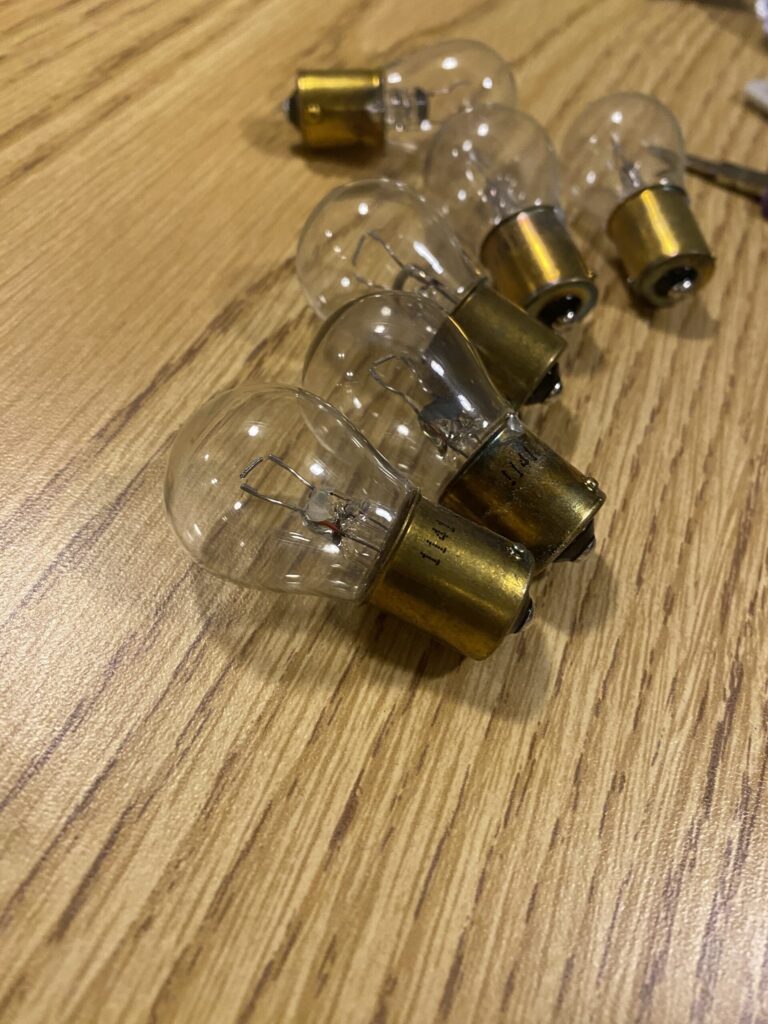
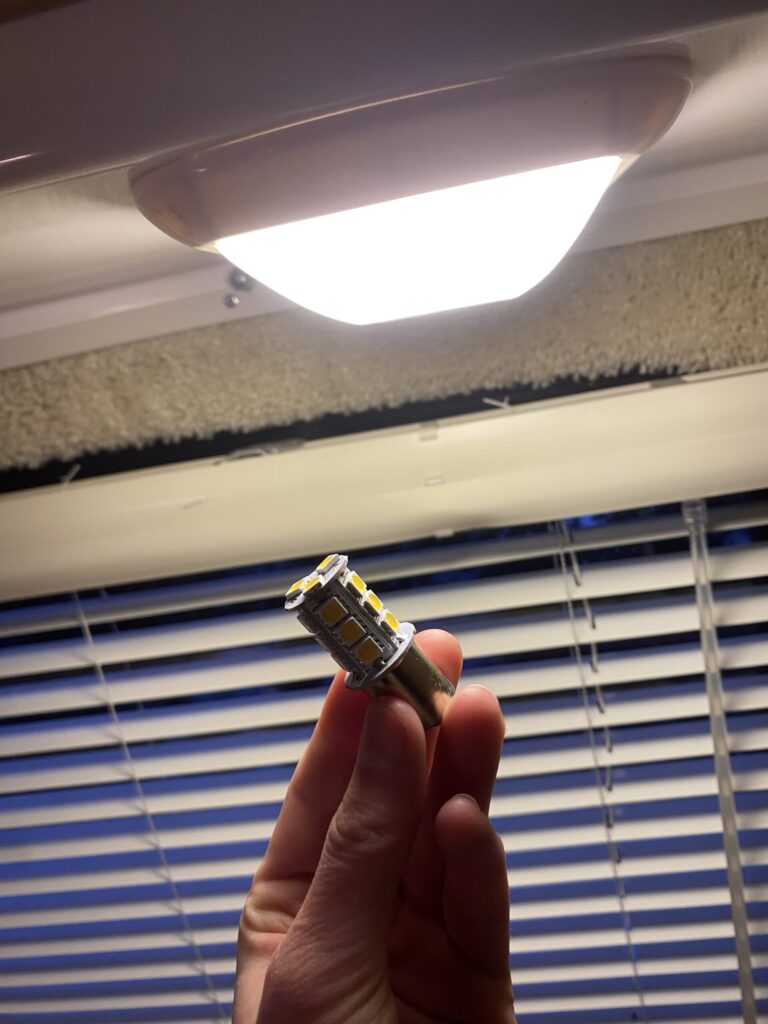
Original incandescent bulbs (left) vs. the “warm white” LEDs that we installed (right)
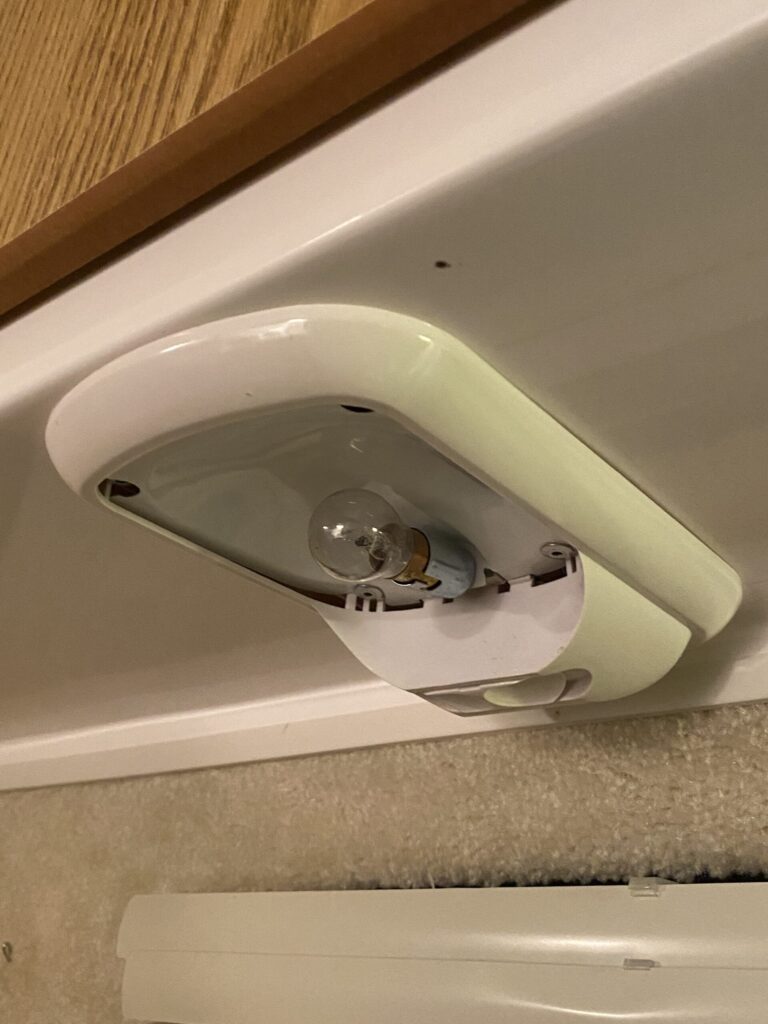
Once you have the right bulbs, all you need to do is remove any covering you have on your lights, take out the incandescent bulb, and replace it with an LED bulb. Repeat for every fixture you have.
What our light fixtures look like when you remove the cover
One of the main benefits of efficient lighting is that it pairs well with renewable energy sources. We’re able to run our LED lights for days with just one set of briefcase solar panels!
Briefcase/portable solar panels
Installing an array of solar panels on the roof of your rig takes some handiwork. That project often involves threading wires down through the walls, lots of ascending and descending ladders, learning how to construct a stable mounting system so the panels don’t fly away, and so forth.
This is, of course, doable with some grit and research. However, self-care and achievability are crucial factors in making sure you can actually meet your sustainability goals. If you don’t feel the stoke on mounting solar panels on your roof, it’s completely acceptable to opt for a more portable setup.
Briefcase solar panels are awesome, and the installation process is much less complicated than mounting solar on the roof. You can take a look at a great list of pros and cons here.
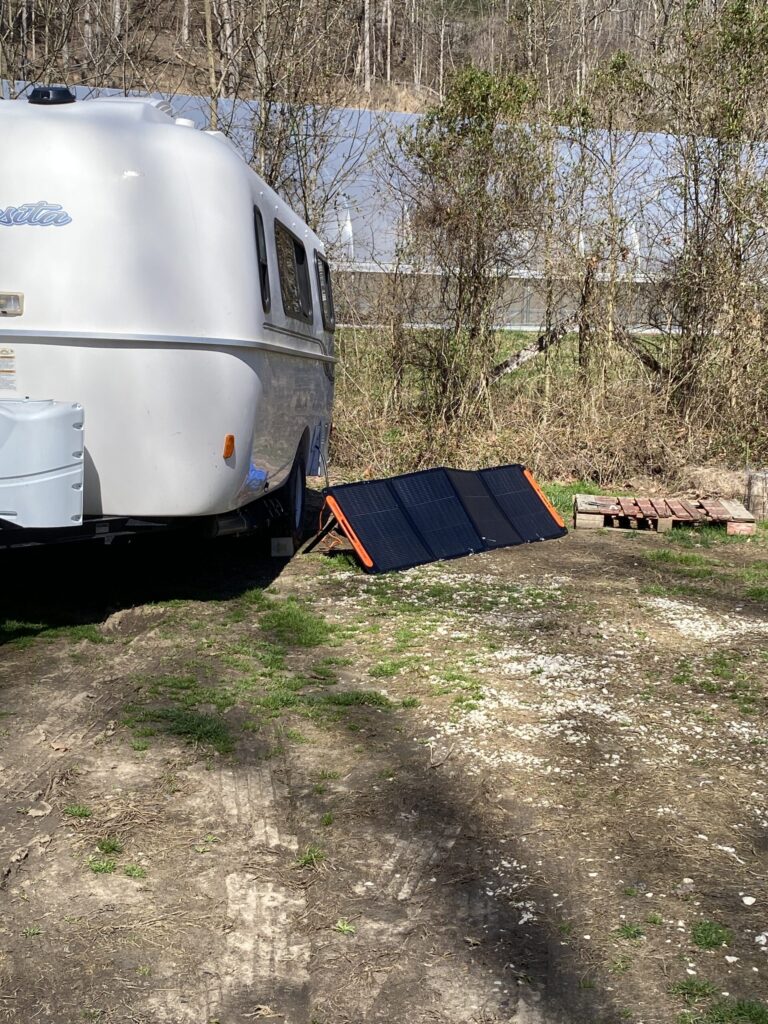
Our solar panels drinking up some early March sunshine
My partner and I have the Jackery 200W solar panel pictured above. It powers all of our lights and our ceiling fan, charges our computers and phones, and even runs our mini rice cooker. All of that, from the sun!
We also have a portable lithium battery from Jackery. Lithium batteries have a complex footprint; they are environmentally costly to produce, but overall have a longer lifespan than lead-acid batteries and are more efficient. We made sure our home was small enough to run off of just one lithium battery, and plan to take good care of that battery so that it can last us long into the future. If you also want to use a lithium battery for environmental reasons, I recommend taking similar steps–and keep in mind that research on the production effects of these batteries is still ongoing. Lithium battery use is still, however, a great sustainability upgrade when done right and with care.
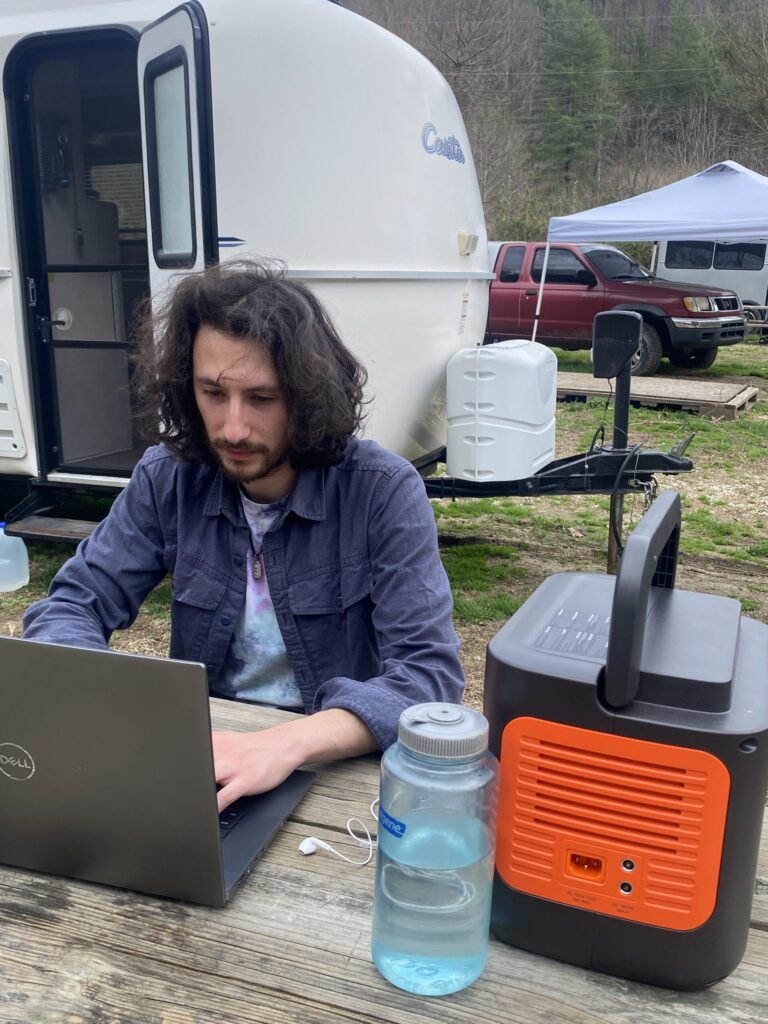
Tomo and our battery getting it done together
Passive and low-consumption temperature control
Heating and cooling a space can burn lots of energy, depending on what kind of system you have. Running an AC unit from an RV hookup is effective, but it might not be the most efficient (and is certainly not the cheapest). Learning how to passively control the temperature in your rig can cut down significantly on these financial and environmental expenditures.
Passive methods of temperature control don’t use any energy at all, and some active temperature control methods use significantly less energy than others. Here are our highest-impact solutions.
Use window insulation
Even while closed, windows are one of the main gateways that will let heat sneak in or out. Finding or creating window covers that insulate well can help maintain the temperature in your van, sealing it off against the elements. Reflective ones work the best, and can be turned to reflect heat either into or out of your rig.
Collaborate with the sun
If you’re traveling in the northern hemisphere, then the sun will generally be in the southern half of the sky at any time of the year. In the colder months, park so that your largest windows face southward, just like how you would set up your solar. This will let in the most possible sunlight. In the summer, park with your largest windows facing northward. This will shade the inside of your rig.
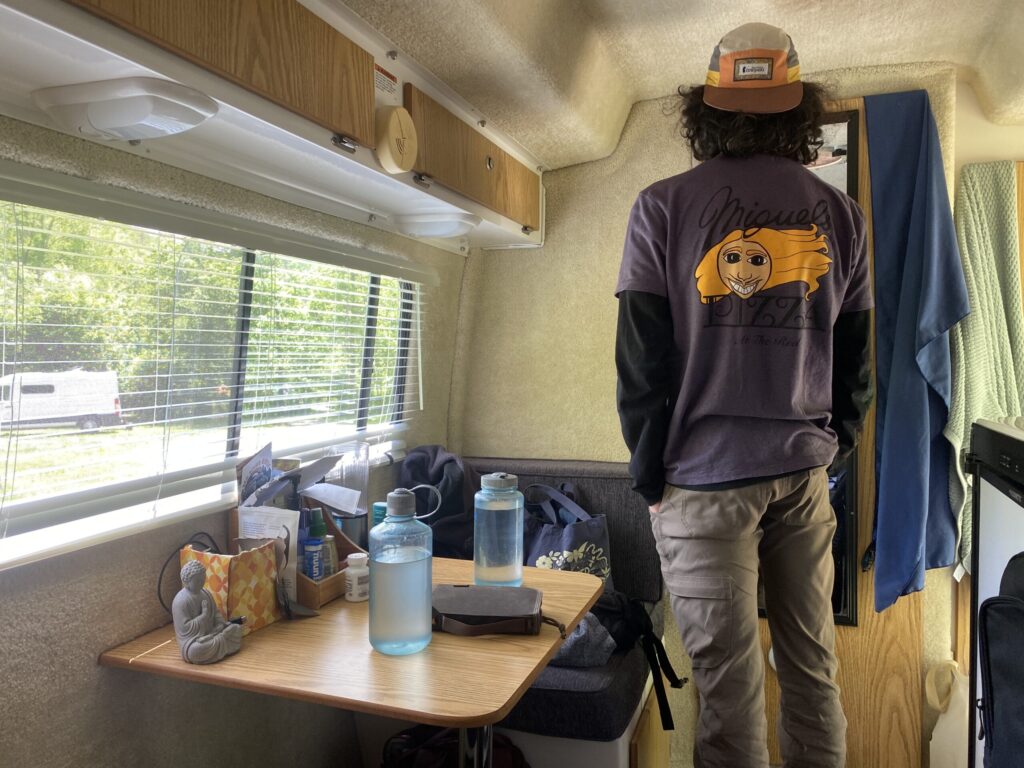
Letting in some sunshine on a chilly day
Set up a shade cloth
Some places have less natural shade than others. A handful of nomads recommend keeping tarps on you for this purpose, which you can set up with clotheslines or by draping them on top of your van.
However, if you’re living somewhere with very few trees to throw you some shade, you might also be contending with quite a bit of wind (for example, in the desert). Tarps don’t fare well in the wind. At best, they can be very noisy, and at worst, the wind might carry them away entirely. An RV-er named Bob, who writes for Cheap RV Living, recommends using a shade cloth instead. Shade cloths are similar to tarps, but they have a looser weave, which allows the breeze to sweep through without rattling the fabric.
Install portable fans and roof/exhaust fans
The little roof fan in our used Casita trailer is one of my very favorite features. Roof fans are especially useful during hotter weather. Heat rises, so roof fans are naturally super effective in pulling heat out of your trailer.
Even small desktop fans can help significantly with air circulation. They also are quite low-wattage, allowing you to run them off of limited solar power.
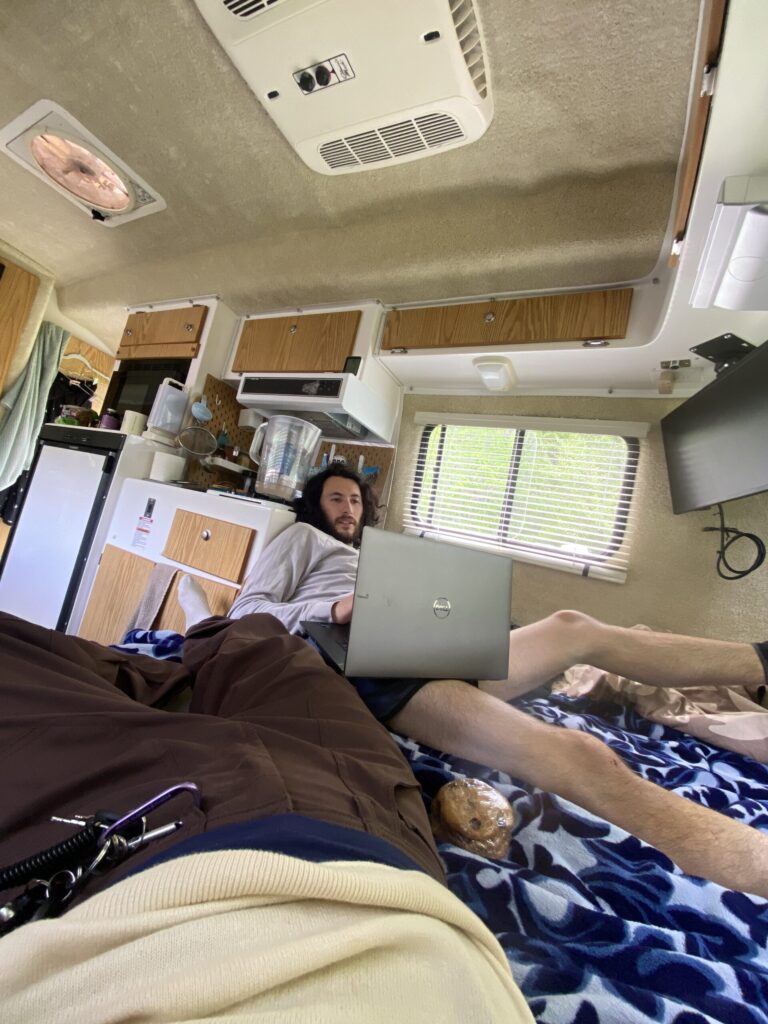
Tomo and I enjoying our roof fan (top left) on a beautiful day at Miguel’s
Conclusions
Sustainability doesn’t have to be bougie. Taking any one of these small steps will make a difference, and I hope that the solutions presented in this article can empower you to make your own upgrades. Good luck and go forth. Mother Nature will thank you for any effort you are able to make.



Leave a Reply